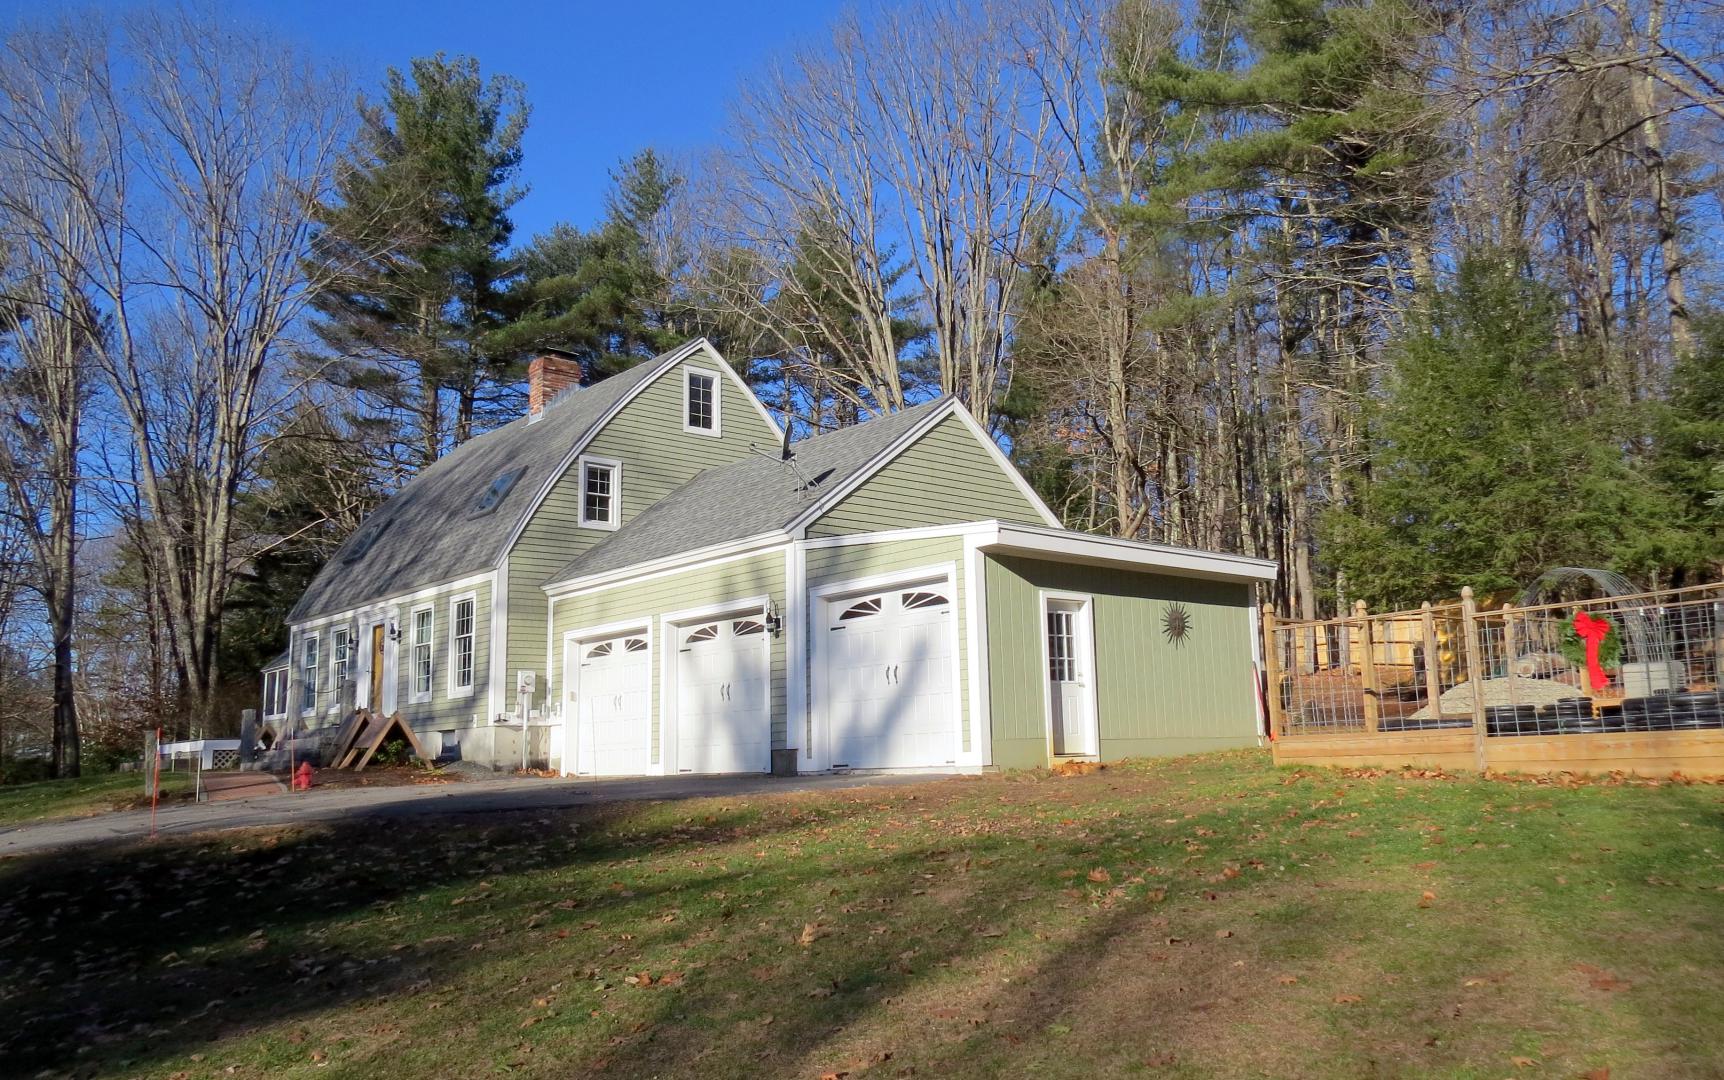
Adding a Garage Bay in 2020
In the summer of 2020, the first COVID summer, I built another garage bay for the new Kubota tractor I had bought. I hired my friend Mike to help with the build. The truth be known, Mike is more knowledgeable than me, he has been a professional builder his whole life. We both did this around our regular jobs, basically working together every Saturday. We started in June and finished in mid-September which was pretty good. I had figured that I could build this pretty inexpensively with my contractor’s discount at the local lumber yard and with me providing half the labor and only having to pay Mike for the other half. What I didn’t see coming was the skyrocketing lumber prices. When I called the order in I had casually estimated that it would be around $3000 for the materials. When my “garage on a truck” arrived and the driver handed me the invoice I nearly fell over. The bill was more like $4500! Welcome to the beginning of supply chain issues and out of control prices. I was actually lucky to get everything I needed.
We built the third bay next to the existing two bay garage that is original to the house. There was driveway pavement where we were going to build and I had hoped to build right over it. Unfortunately it was not even close to level and quite uneven. I ended up tearing it out with my tractor, loading onto a borrowed heavy duty trailer and carting it to the recycling center. I graded the site and planned to fill the new bay with a few inches of crushed stone. The site work set me back several days and delayed the start of the build.
We opted to build a single plane shed roof rather than continuing the peaked roof that is on the original garage. This is much quicker to build and saves a lot of money on materials, all the more so true with the high lumber prices. The trade off is we had to build a very shallow angle, a nearly flat roof. We were attaching the new bay to the gable end wall of the old garage. The higher up you attach the roof to the gable end, the more length of roof (back to front) you lose. In order to get a steeper pitch, we would have to put hips in the roof (front and back) and that too would raise the price. Simply put, we attached the roof to the gable end at the depth of the new bay and created a shallow single plane roof without hips. Concerned about snow load (this is snowy NH) we built a rugged roof with 2×10’s 16” on center. I got a second material delivery several weeks in and the driver looked at the roof rafters and wryly commented “planning on parking cars up there?” I grinned and replied “I like to keep my options open!”
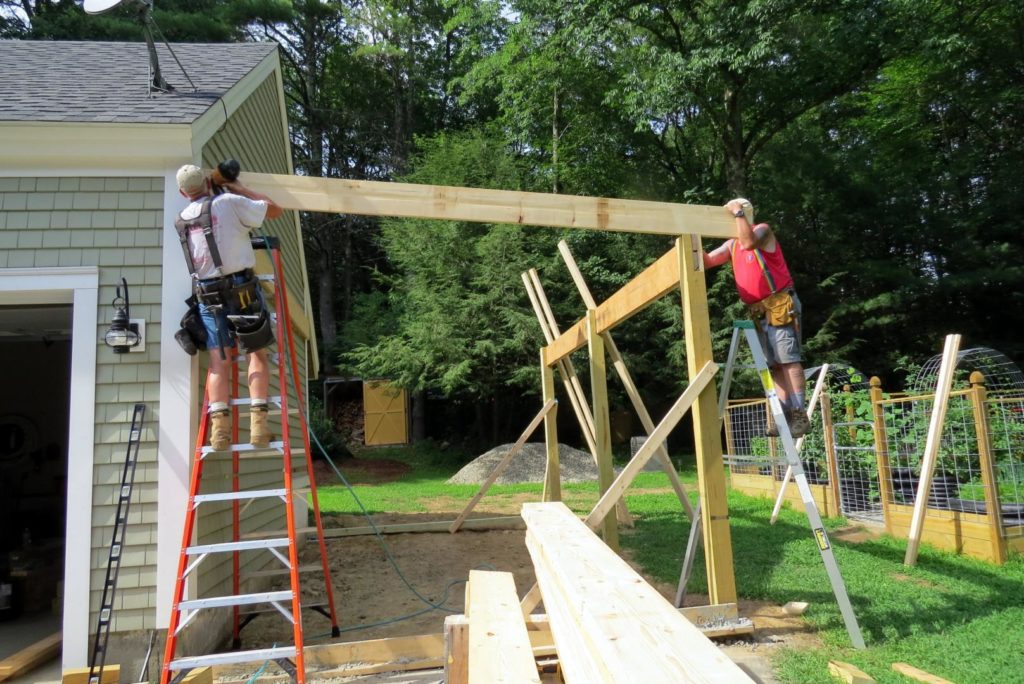
The build got off to a rough start. We had to dig a handful of sonotubes and a concrete footer across the front of the building for the garage door to close onto. The digging was rough, we had Mike’s three point hitch auger but ended up doing much of the digging by hand. It was slow going. We mixed concrete from bags and got the pour done in a couple of Saturdays. We used the edge of the old garage foundation, thinking it was square as a reference for the new building. Surprise, the old build was not square and we had all kinds of issues squaring up the addition. We chased the squareness issue for many weeks in the early part of the build. The end wall of the old garage was actually wavy, not straight. When we raised the outside rafter bearing wall and kicked up the rafters that were all cut the same length, we realized that the rafter tails did not form a straight line which makes soffit and eave trim just about impossible. We ran a string across the rafter tails and measured the gaps. I had to cut a rafter shim for every rafter, no two the same, varying between 1/8” and 7/8”. That was a time consuming pain in the ass. Next time I’ll run a string from the front to the back rafter and measure every rafter before cutting. Once we got things square, the build picked up speed. The new bay is essentially a pole barn with purlins (or girts as they are properly called), and they went up pretty quickly.
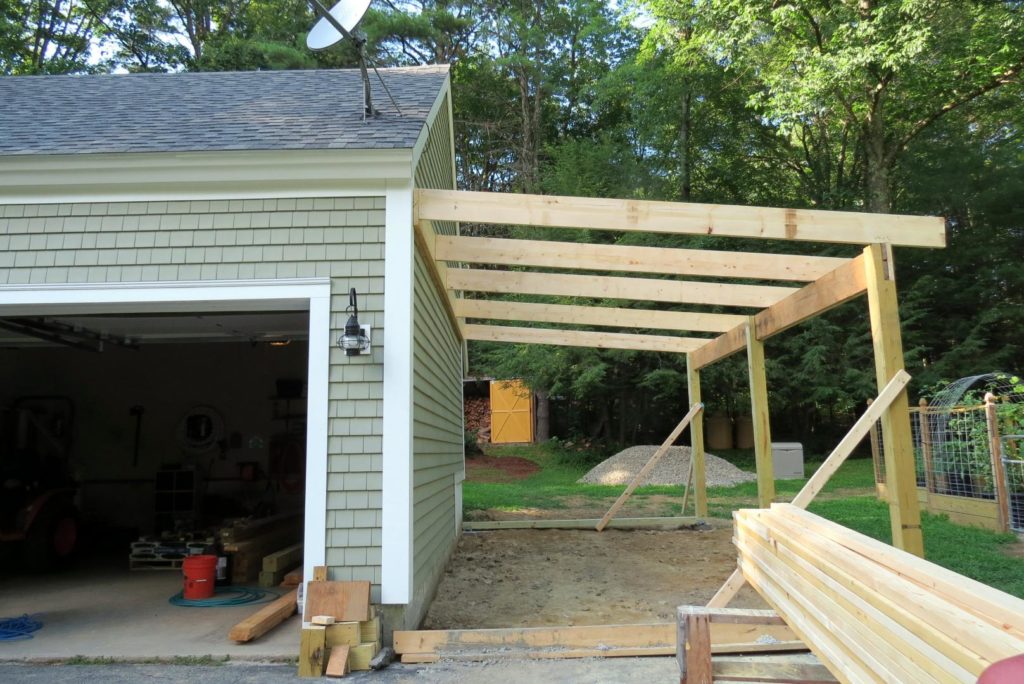
The Carry Wall and a Handful of Rafters are Up
The roofdeck and shingles went up smoothly. We built some temporary scaffolding and used the loader on my tractor to lift the plywood and the shingles to the roof. That saved us a ton of grunt work going up ladders with heavy stuff. 2020 was a hot summer and the day we shingled was plenty warm. It was hot on the roof, uncomfortably so, but the shingles were soft and compliant and laid right down and adhered to the decking instantly… which is a good thing.
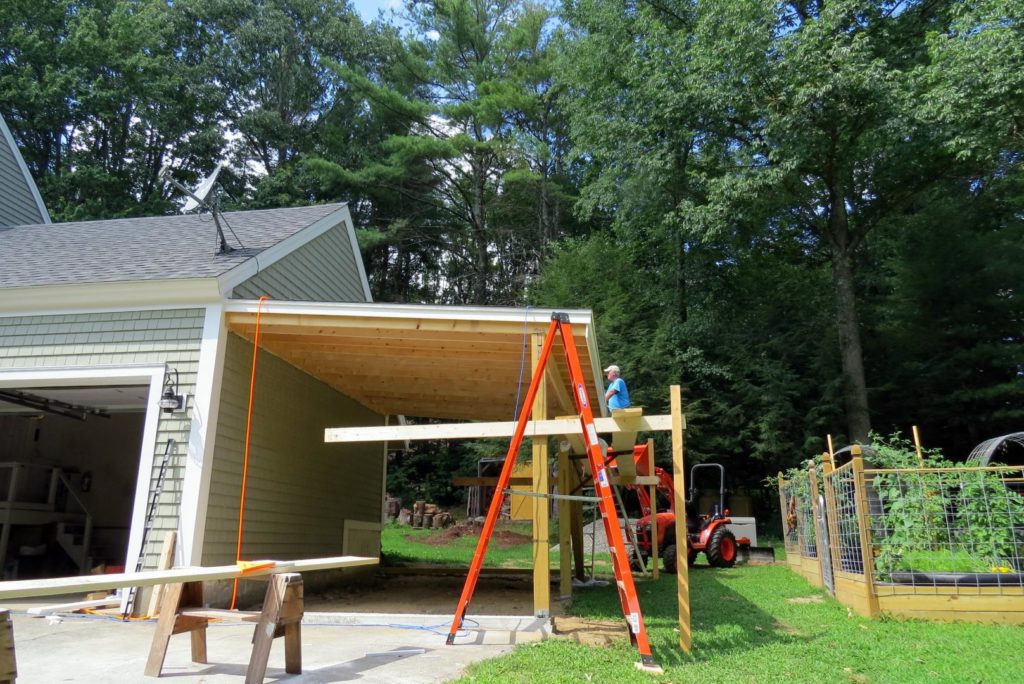
The Roofdeck and Temporary Scaffolding in Place
The framing went quickly and smoothly as well. By this point all the squareness problems and general weirdness were behind us. Builds are like that; sometimes you chase the same problem round and round until you finally corner it and fix it. And sometimes not. I built an octagonal barn with a couple friends when we were all in our early twenties. I think for all of us it was the first time building a complete free standing structure. And we were just foolish enough to start with an eight sided building. We had a set of plans and all of us had some building experience. Somehow we screwed up the layout of the sills. We had seven sixteen foot long sides but discovered the last; the one that closed the loop was four inches longer. You couldn’t tell looking at it and we did not want to rip out all the sills and do it again. Young, dumb and numb, we pressed on. The eight section hipped roof became an absolute nightmare. We were building the barn part time and our error haunted us until the bitter end and cost weeks of extra work. It looked cool when it was done; but what a journey to get there! Back on the garage build we used pressure treated lumber for the 6×6 posts and 4×6 sills. The purlins were all KD 2×6’s. We got the header and frame for the garage roll up door and the man door framed in an afternoon. For me, framing is always fun. It goes quickly and it is gratifying to see the building take shape.
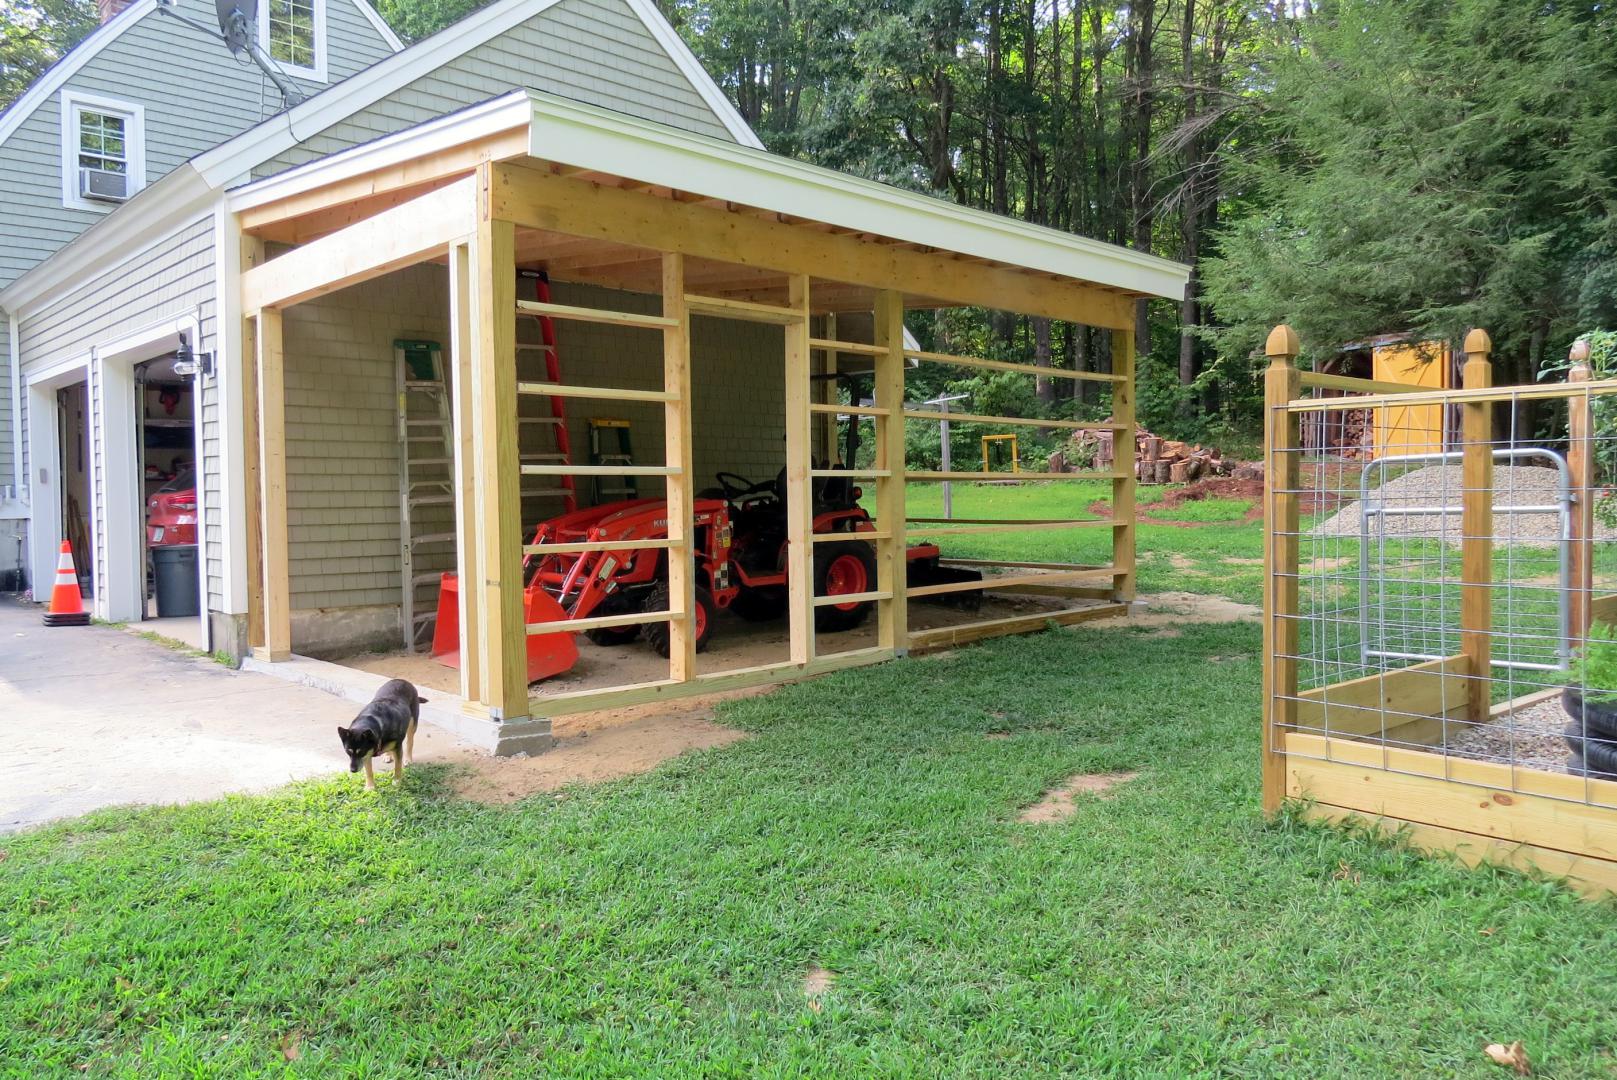
With the Framing Complete, the Kubota had a Home
And then, a change in plans. I often change things on the fly; you see things differently as the project takes shape. I was concerned how hard it would be to move equipment around on a crushed stone floor. I knew things would not slide or roll easily. I was already over budget so my fantasies of building this cheaply were long gone. Mike thought we could get a concrete floor poured less than a grand. He wasn’t far off, we found a concrete guy to do it for $1100. It was more money but I knew that it would make a much nicer garage. The pour didn’t even take a whole day. We had to stay off it for a few days to give it a chance to cure and the Kubota got kicked out for a couple of weeks.
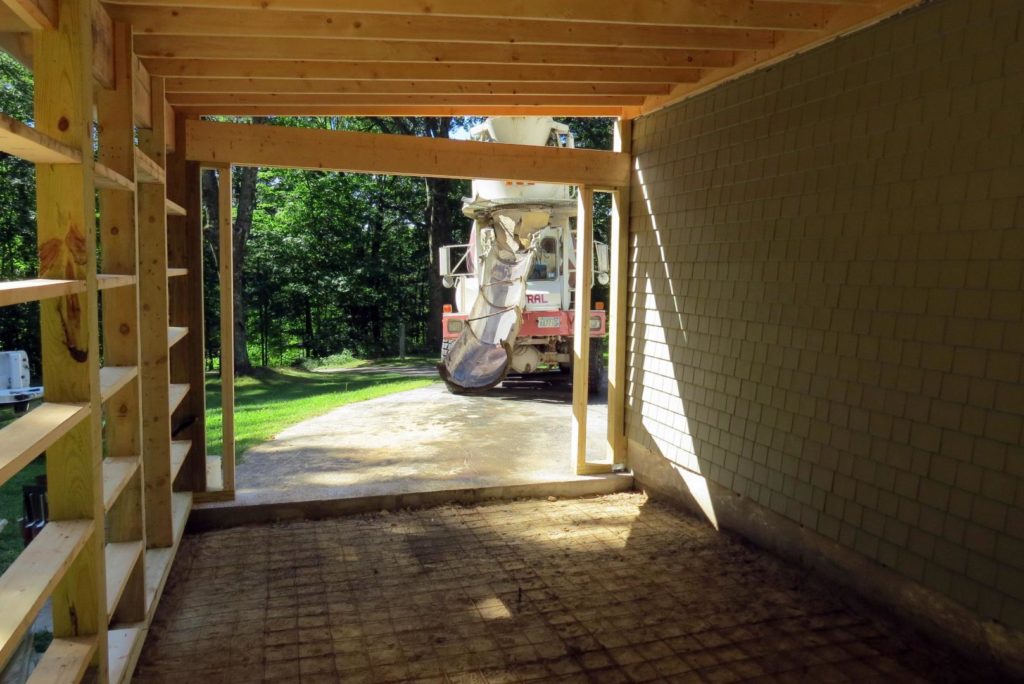
A Change in Plans, Time for Concrete
The next step was the sheathing. I had enough vinyl shakes left over from siding the house a few years earlier to clad the front of the new garage. This would keep the appearance of the house the same across the front which was important to me. The garage door itself, which didn’t happen for a few more weeks, exactly matched the other two doors. Vinyl shakes, especially good ones, are very expensive. I didn’t want to spend the money to do all three sides of the new build in vinyl. T1-11 is a good looking product that I have used many times. I used it here to sheath the side and rear wall. It actually matches the T1-11 shed on the other side of the garden facing the new garage. I didn’t want the T1-11 to touch the ground and get the inevitable water damage from wicking. I used pressure treated plywood for my water table. The build is on grade which is clearly shown in the picture below, the water table is tapered. If you are wondering why I used such a tall water table in the back, the explanation is quite simple. The T1-11 sheets above the water table on the back wall are full sheets. It was cheaper and easier to cut a taller water table than run more T1-11 lower.
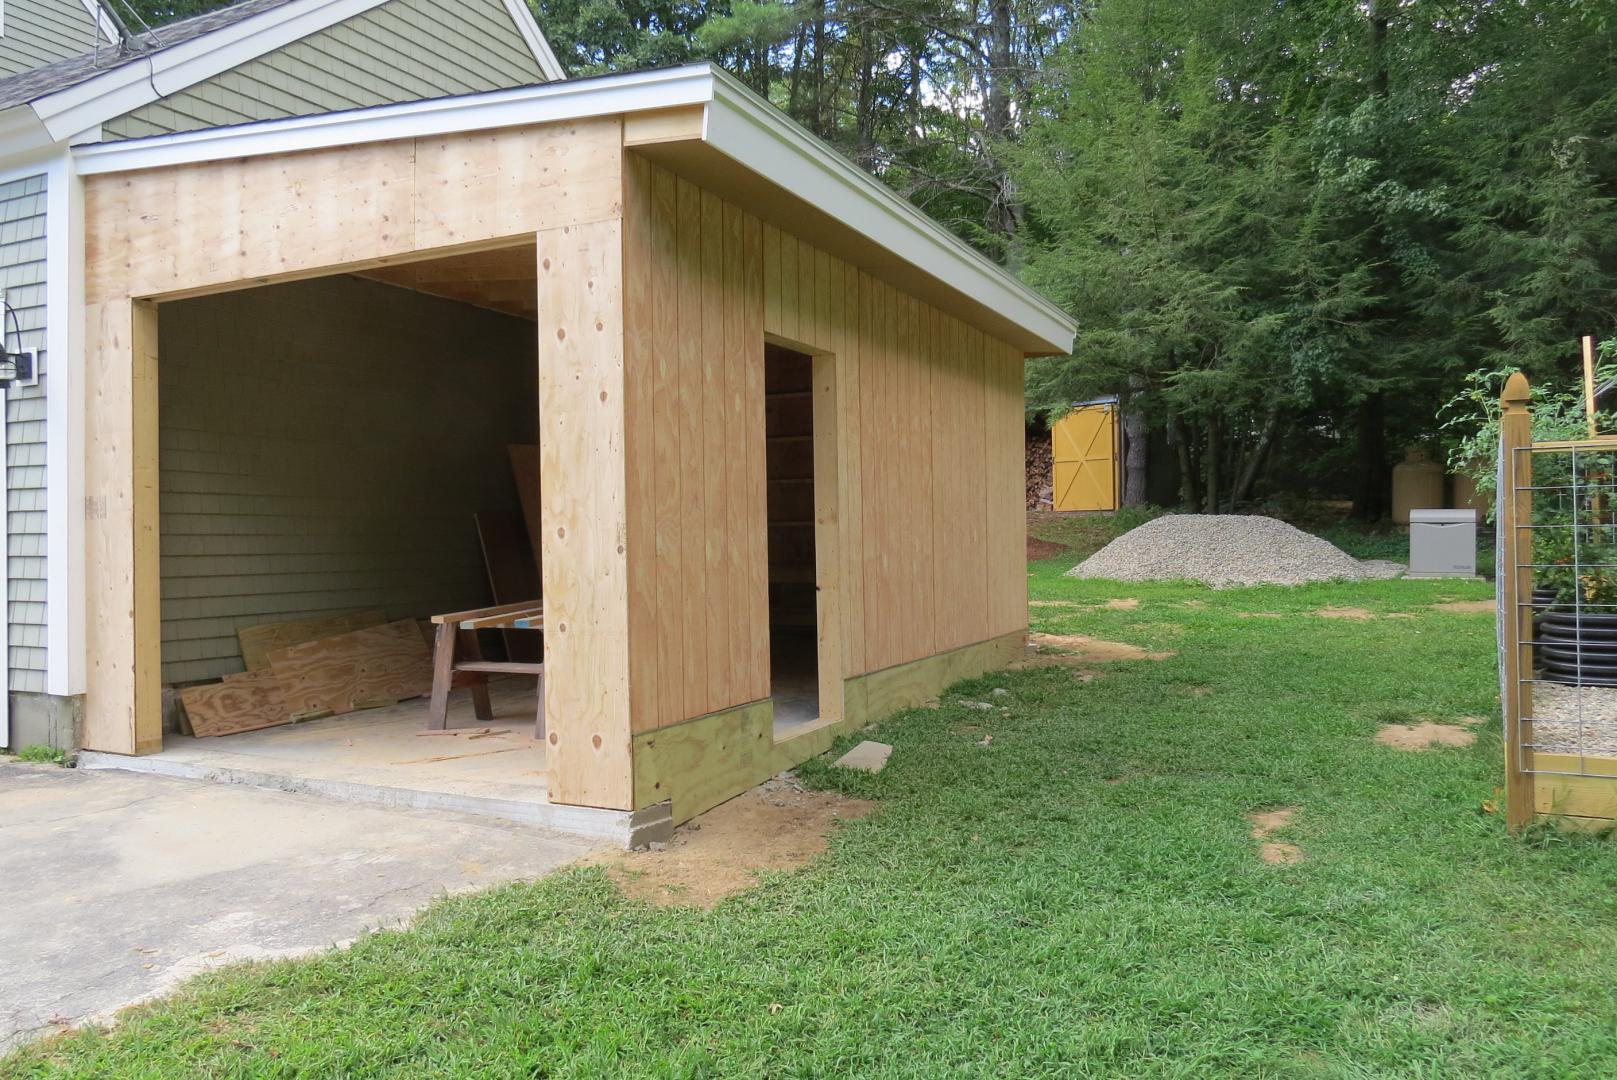
Sheathing and Pressure Treated Water Table
I did use vinyl trim on this build just as I had on the rest of the exterior house. Vinyl trim is stupid expensive but never rots or needs paint… and I like that. This kind of trim is board dimensional meaning the vinyl is ¾” thick by whatever width, just like wood trim. In other words, it is not a veneer cover. To put it up correctly you rabbet a recess on the back side of the trim and it overlaps the shakes. This is far and away the nicest looking, but most labor intensive and expensive way to trim vinyl siding. But it looks just like wood trim. If you use j-bead, it is much cheaper but everybody can tell that it is vinyl siding.
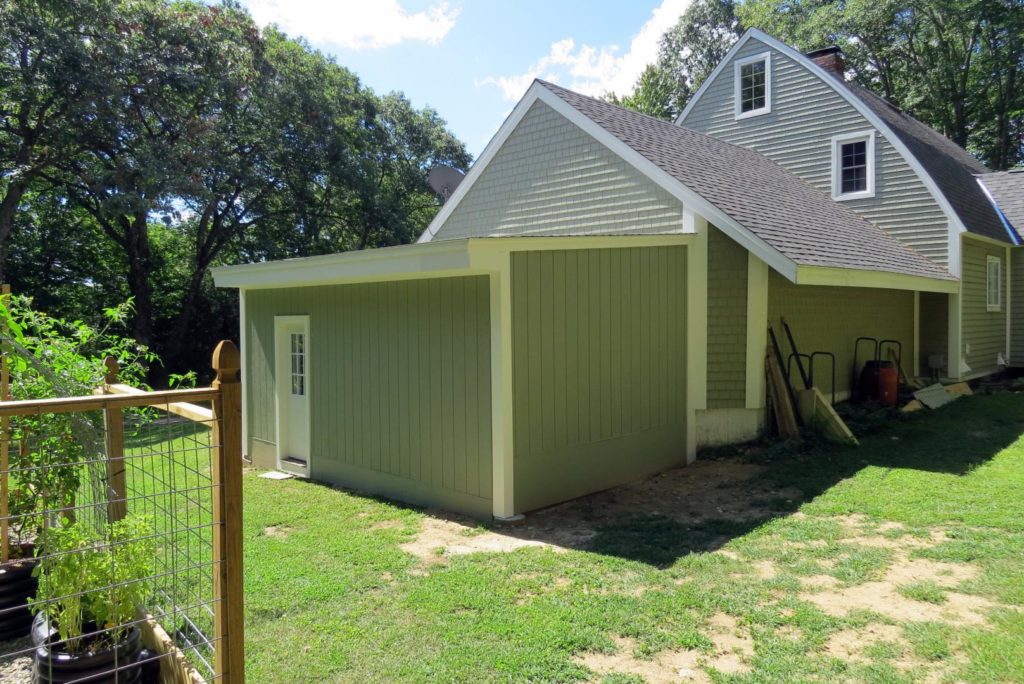
The Rear View Showing the Many Rooflines of the House
So, this was a fun build, not without its frustrating moments, but still fun. I love to build things and it makes me appreciate the build much more if I did it myself. So thanks to my friend Mike for helping me or perhaps more realistically I helped him. But it doesn’t matter, we got to work together, spend time figuring things out… and we got it done. And… whatever the final cost came to, although higher than originally planned, was probably half what it would have cost had I hired a contractor to build the whole thing. I’m good with that.

Recent Comments