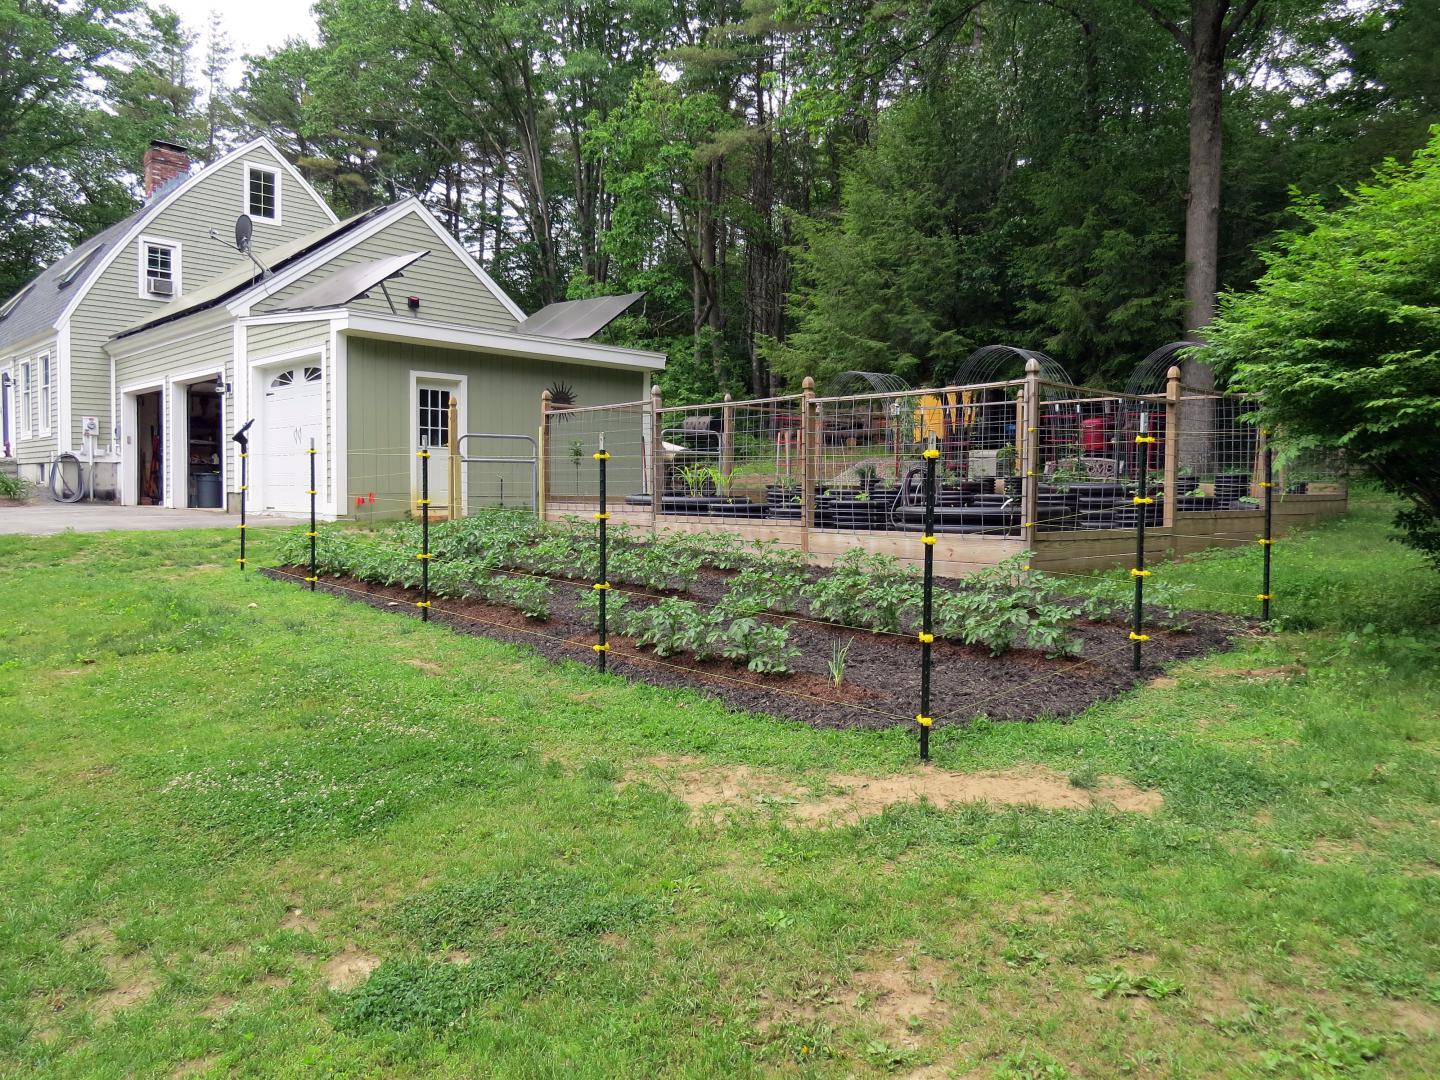
Putting up Electric Fencing
I haven’t put up an electric fence in thirty years, but I need to now. When I go back twenty, thirty or more years; the runways of my memory are often shrouded in heavy fog. I don’t remember much about this process although when I went to Tractor Supply I seemed to instinctually know what to buy… well, at least I think so. I bought a solar charger so I wouldn’t have to run power to the charger. I bought enough wire and insulators to go on the metal t-posts I already had. I remembered to get a ground rod, although the ones they had were crazy long. I’m not looking forward to pounding an eight foot rod into the ground. And, the guy at TSC that helped me suggested that I could cut it down. The longer the rod, the better the ground… but eight feet? That might be overkill. And then there was the ground wire, hard wire works better than the woven wire I bought for the fencing. Oh, and don’t forget the ground rod connector, gotta have one of those. I didn’t forget. So I think I have everything I need… we’ll find out.
If you read the essay about the new potato patch, I said I would put up an electric fence if there was a deer problem. Knowing what Bambi can do, never mind Bambi and several of his friends; has been bothering me. A lot can happen in a single night. I’m going to be proactive and put up the fence before something bad happens.
So, we are going to need to be able to get into the new garden area. Yeah, I know… they have those inexpensive spring loaded insulated handles you can make a strand gate out of. I’m planning to run at least four strands; that means four handles. No thanks, it might be cost effective but it’s going to be a pain in the ass to use. I bought another galvanized four foot gate. They have gone up like everything else; they were $100 for years, now they are $130. I attached the pintel hinges to the existing corner fence post. Corner posts are strong and make excellent anchor points for gates. I added another pressure treated (pt) 2×4 to the 4×4 post to take up the long threaded portion of the pintels. I also had to cut some of the cattle panel off with a grinder to get the 2×4 to lay flat. You need to pre-drill and then use a wrench to screw the pintels into the post. Liquid dish soap on the threads can make life easier as well.
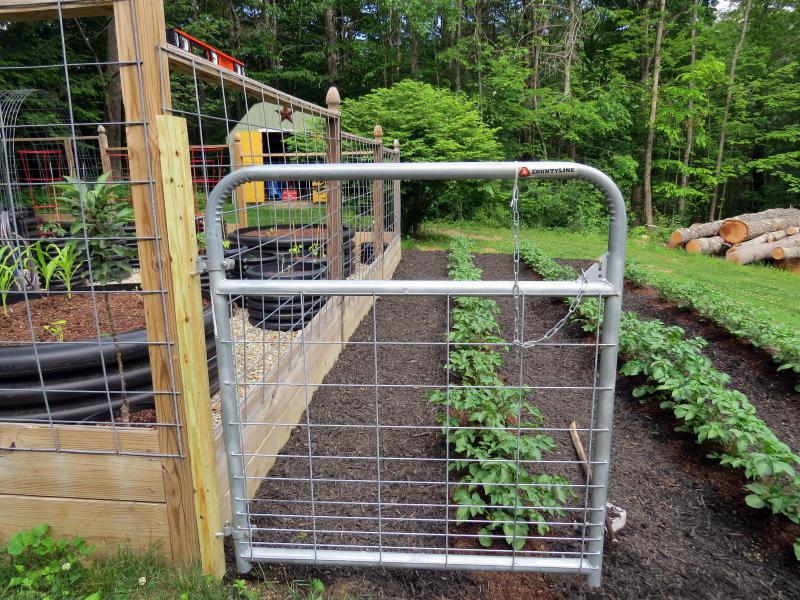
The New Gate
The gate requires a second post on the other side. You need to measure carefully to get the width right and make sure the post is in line with the rest of the fence. I’m not a big fan of tractor mounted posthole augers. They get stuck, sometimes they break and often they wander off course. If I lived where there was soft sandy soil with few rocks; I might feel differently… but I don’t. This is the Granite State, there are rocks everywhere. As I have said elsewhere, I have literally put up miles of fences across my lifetime. I dug almost every single hole by hand. I use an old fashioned clamshell posthole digger.
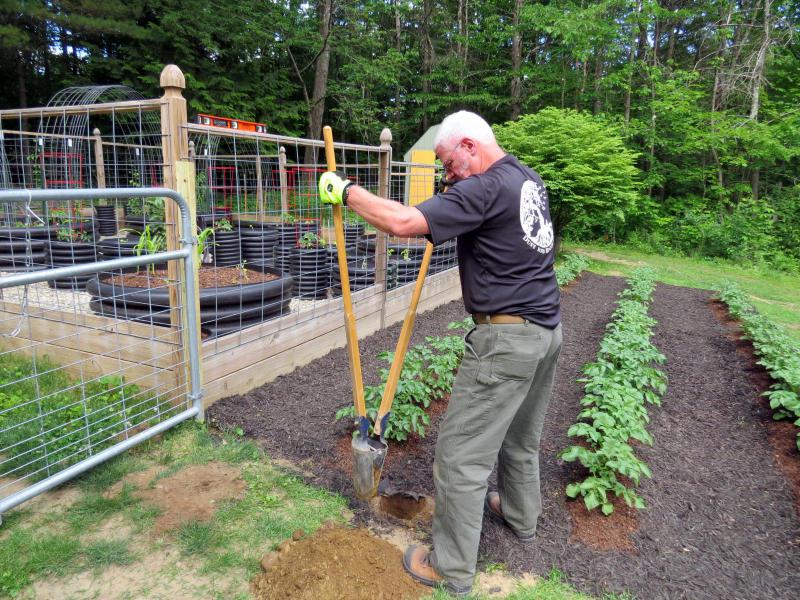
Digging the Hole for the Second Gate Post
When the clamshell bogs down; I break up the bottom of the hole with a heavy five foot long iron bar. It’s slow going but works well. I’ve worn out several post hole diggers over the years; but at $50 each, they are a bargain. A three point hitch (3pth) auger can cost up to $2K and are a real handful to mount on the tractor. And I’ll add this… I like hard physical work. I know it’s not for everybody, but it makes me feel connected to the earth. Working my land is hugely satisfying. It makes me feel good that I can still put in a hard day’s work at my age; I take a lot of pride in that. I may take more breaks than when I was younger, but at least I can still do it. I’ve also met a number of people in recent years who stick their fingers in my face and say things like “that’s nice that you can still do these things, but wait until you get to be my age”. I always take that challenge head on and ask… it turns out that more than half the time they are younger than me!
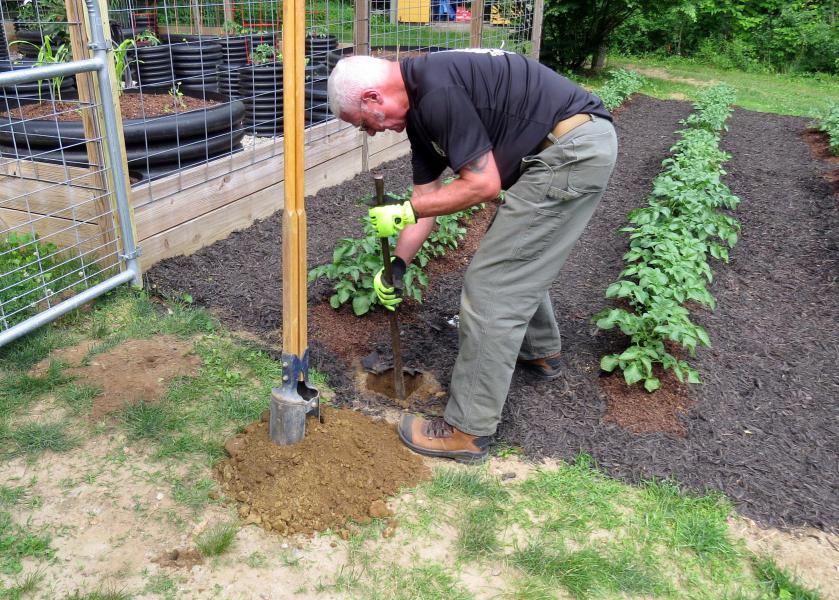
Breaking up the Bottom with the Iron Bar
The next step is to set the post. You should dig down at least three feet, four is better. The tighter the hole, the more secure the post will be. The less soil you disturb… the better. It’s harder to get soil out of a narrower hole but well worth it. Put the post in the hole and measure to see if any needs to be cut off. I’m setting this post lower than the corner post because we are on grade. All the fence posts are the same height above ground. I don’t use concrete, never have. The trick is to pack the soil tightly around the post. Get the post plumb, I highly recommend a post level like the one in the picture below. You can secure the level to the post with a rubber band which can be very convenient. Don’t put rocks in the hole. Back fill several inches of soil at a time and thoroughly tamp down the soil around the post. A four foot piece of 1×4 pine makes an excellent tamper. It is the right shape to fit in the hole beside the post. Tamp a few inches down, check for level (two sides) and add more soil and repeat. In no time you will have a plumb, secure post. If you ever need to move the post it will lift out easily enough. If you pour concrete around it, it will be hard to remove.
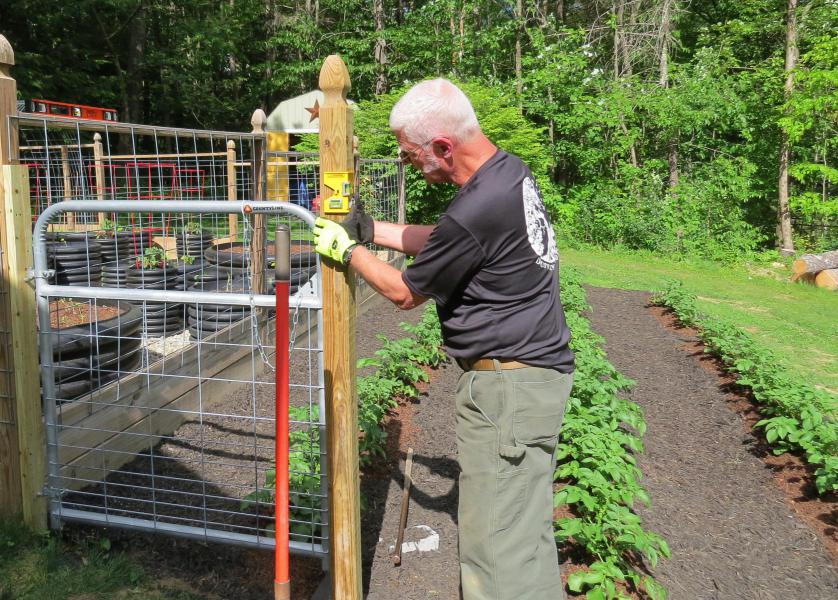
Setting the Post Plumb
This gate has to be set up to swing out only. If it swings in, it will hit the potatoes. The solution is simple. Attach a length of pt 2×4 to the inside of the post over hanging so it stops the gate.
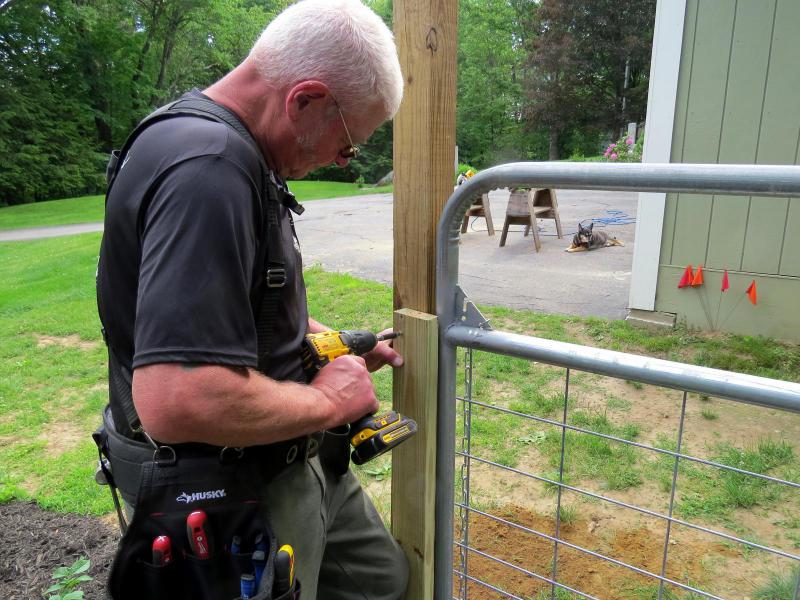
Mounting the Gate Stop
I put a threshold in (which I typically do) under the gate. The threshold helps secure the second post and discourages critters from digging under the gate. The threshold is a piece of 4×4 pt screwed to the posts on either end. The word threshold has an interesting history. We all know what a threshold is… it’s a piece of wood on the floor in doorways between rooms. Thresh is the stalk and leaves in crops, the grain itself is the valuable edible part. Threshing is the process of removing the useable seeds from the stalks. In medieval times and up to the turn of the twentieth century, farmers around the world used the thresh for a variety of things including to cover floors in the house, particularly the kitchen. Kitchens were messy places for food prep and animal by products and fluids fell on the floor all the time. Fresh thresh was put down weekly to absorb the mess. To keep the thresh in the kitchen; a board was placed at the bottom of the kitchen doorway; which was named for its function, the “threshold”.
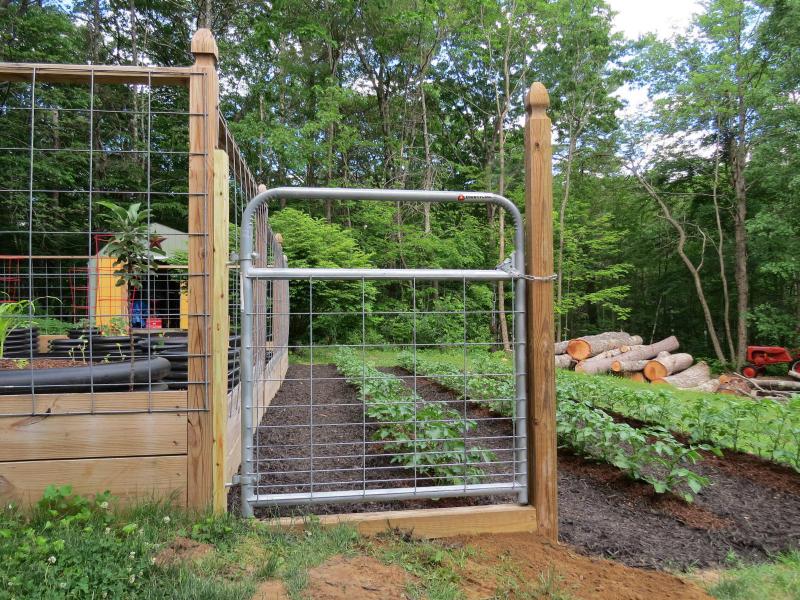
The Gate with the Threshold
The next step was to get the metal t-posts in. I used string to get the lines straight and measured so they were evenly spaced. It’s best to not exceed eight feet between posts. T-posts are far less work than wooden posts but aren’t all that great for woven wire or roll fencing. But for electric fencing they are just fine. They get pounded in the ground which is easier than digging but might mean you have to move a post or two a few inches left or right to avoid unseen rocks… but that’s OK. You can drive the posts with a sledge hammer, but that’s the hard way. If you are putting in more than a handful of posts, I highly recommend you buy a post driver like the one in the picture below. They cost $50 or less. There are some simple tips to make this job easier. Mark the post locations and put the driver over the top of the post before you raise it to vertical. Then set the post on the mark and start driving. It’s tiring but works well. You will need a level; I prefer a short magnetized torpedo level that fits in my pocket where I can reach it. Get the post started, leave the heavy driver on it and check on two sides with your level. Put the level back in your pocket and drive the post some more. Check with the level again and repeat. You drive all the posts so that the “spade” about 18” from the bottom of the post is buried. The driver in the picture is from Tractor Supply. The thing on top that looks like a “3” is slick. You can slide the “3” over the post and rotate the post with the leverage of the driver. T-posts tend to rotate as they are being driven; this allows you to correct it. It’s not gimmicky… it works great.
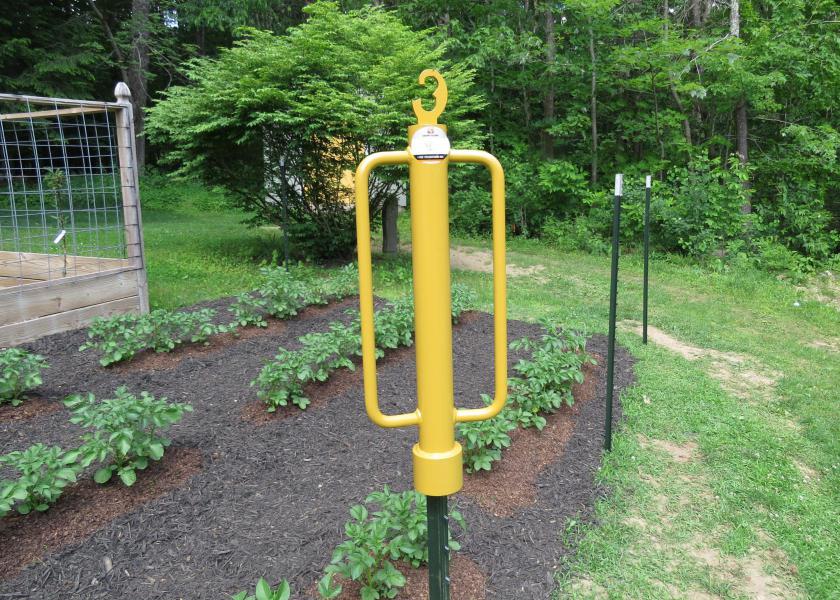
County Line Post Driver
The insulators go on next. I had to buy two different types of insulators. One that fit over the t-posts and another I could attach to the wooden posts. You need to calculate the spacing on the strands. Your bottom strand needs to be up enough to allow a string trimmer to keep the weeds in check but not take out the strand. Weeds touching the hot wire are a problem and weaken the signal. Three or four inches works well and will keep out your friendly neighborhood groundhogs and porcupines; both of whom can do significant damage. Chipmunks and voles are an entirely different matter. They are pretty much unstoppable. You can set steel mesh fencing right to the ground and the chippies and voles will tunnel under it.
I used an American Farm Works solar charger (seen in the picture below) that mounts on top of a t-post. The mount slides about four inches over the top of the post; which meant my top strand is four inches from the top. I spaced the two middle strands evenly. You may notice a shop cart at the end of the fence line in the picture below. This falls under the work smarter not harder school of thought. The cart is full of tools and all the insulators and wire needed… very convenient and no bending over to pick them up.
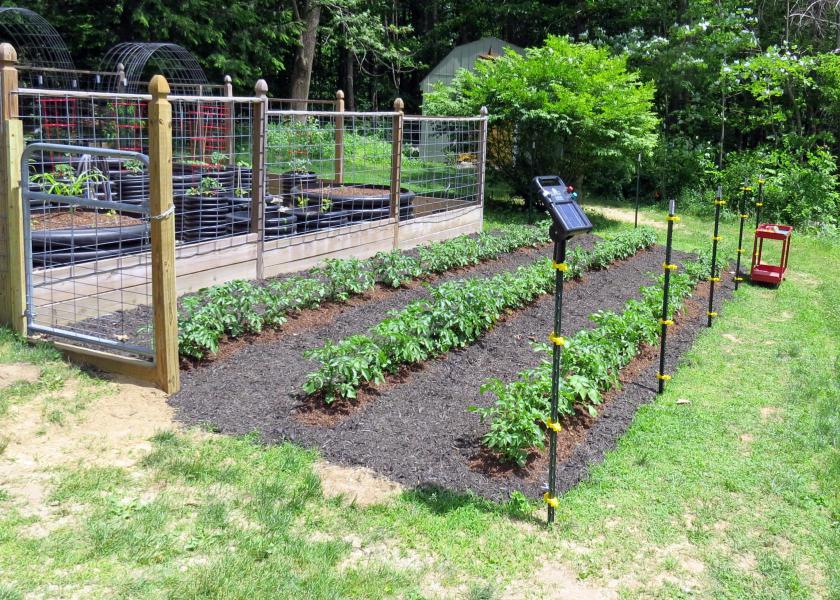
Installing the Insulators
The next step is stringing up the poly wire. You can tie off the ends to an insulator or you can use galvanized line clamps. Line clamps are inexpensive, hold well and look much more professional, it wasn’t a hard decision. Secure an end and thread a single wire through the insulators back and forth from one end of the fence to the other until all the rows of wire are up. It is one continuous piece of wire and you need to maintain tension on the wire so it will not sag. Attaching the last line clamp and maintaining tension while you are tightening it is a little tricky if you are working alone. I did it by myself but an extra pair of hands would have been nice. The line will stretch and sag over the season and may need to be retightened once or twice; another good reason to use line clamps.
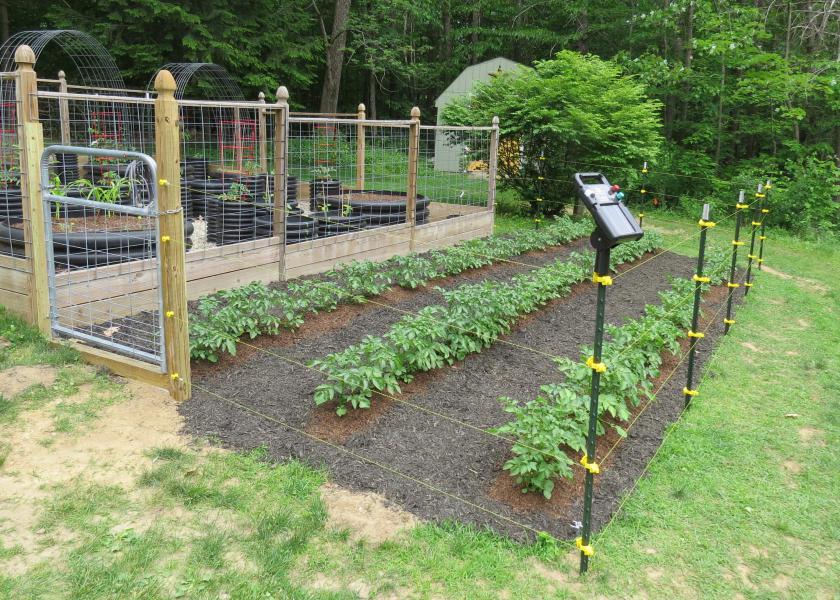
The Poly Wire is Installed
The final step is hooking up and grounding the system. I ran a short insulated wire from the charger to the top strand of poly wire and connected it with another line clamp. I drove the eight foot ground rod about five feet into the ground before I hit an immoveable object… undoubtedly a big rock. I got the grinder out again and cut the rod so it had a couple inches showing above ground. I ran a second insulated wire from the ground terminal on the charger to the clamp on the ground rod.
So the install is complete. Everything is working well, no initial problems. I used a five mile rated charger that produces 0.5 joule. I had to make sure it was working, it was… it stings. I can’t say much about the American Farm Works charger yet. It appears to be well made and cost $160 which is about right. The install was easy and it seems to be working well. It is advertised as being able to hold a charge for two weeks without sun. It has a three year warranty. We shall see. I will follow up with an update at the end of the summer.

Recent Comments