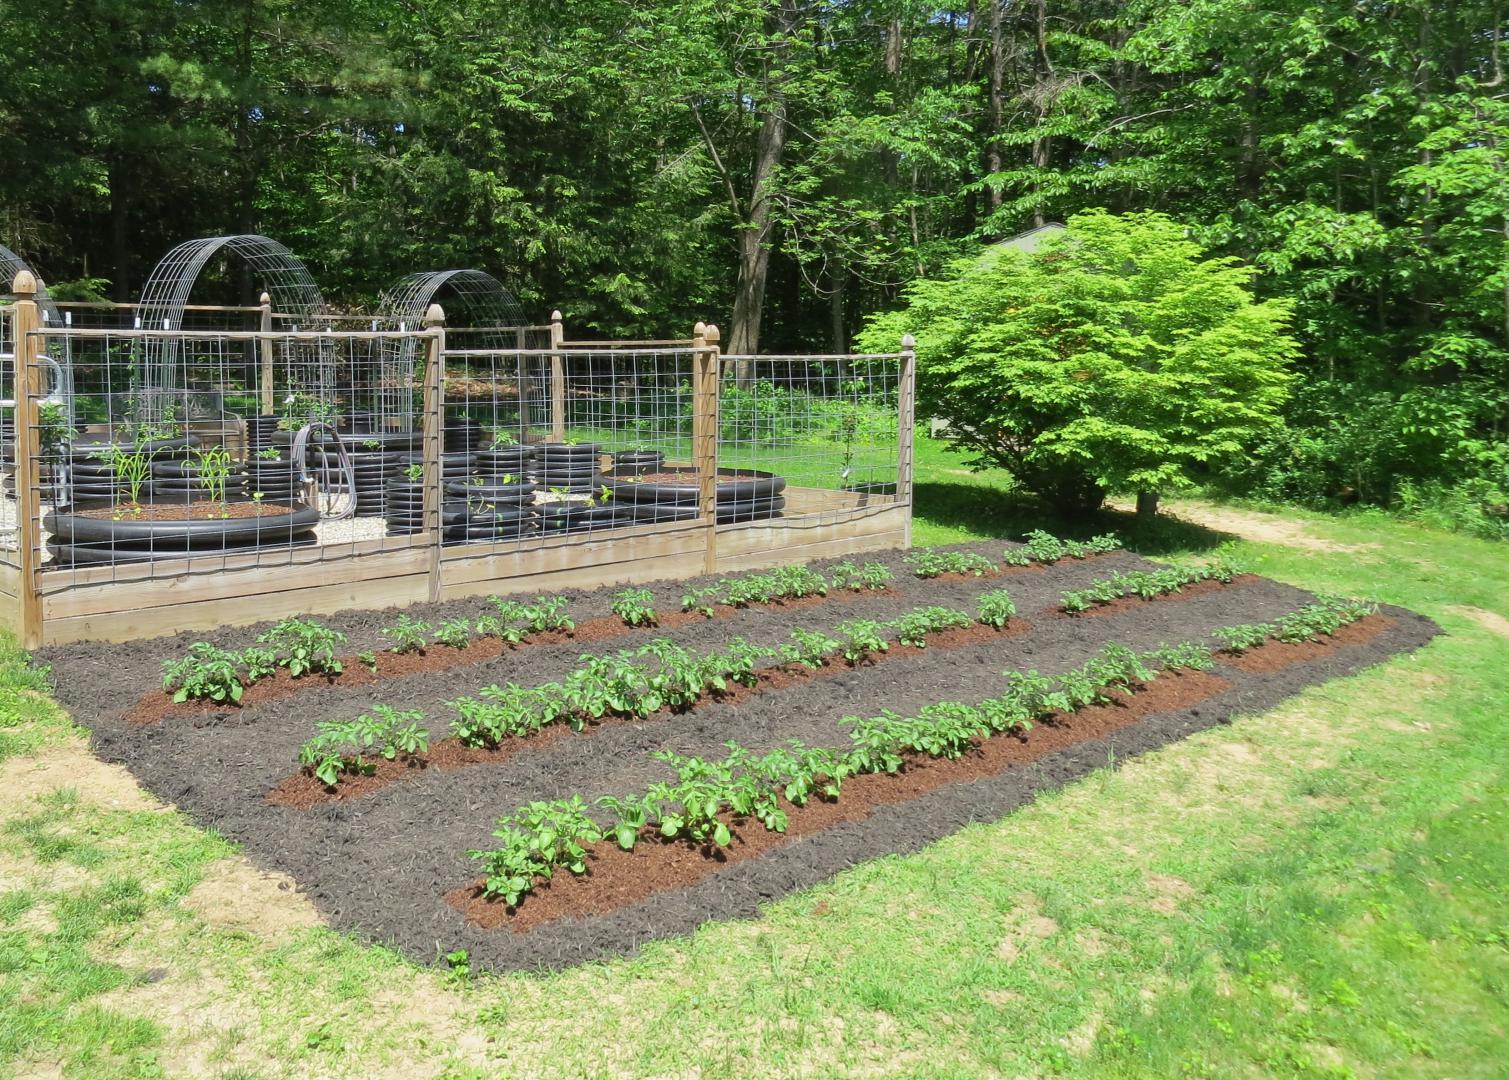
The New Potato Patch
We grew potatoes in one of the large diameter raised beds in 2021. We planted on planting weekend which is Memorial Day here in Zone 5B. They could have gone in earlier but we didn’t get to it. We had modest success; I think we harvested around 25 pounds of potatoes. Kristine and I talked about it over the winter and agreed to up our game and put a good sized potato patch in 2022. There would be no raised bed this time; they were going in the ground. I outlined a 15 x 32 foot patch on the outside of the south side of the garden fence.
This area was a well established part of the lawn, basically sod. I have a “layoff” plow that I bought at Tractor Supply a couple of years ago. It would save a lot of work; breaking up sod by hand with a shovel is miserable work. The plow is marketed under the County Line label but is made by Tarter Farm and Ranch Equipment https://tarterusa.com/. For the record, Tarter is an American company based in Kentucky that has been around since the 1940s. They manufacture in America and make good quality equipment. I’ve never had a problem with any of their products.
The layoff plow which is called a “middle buster” by some (including the folks at Tarter) is a simple symmetrical one bottom. Instead of having a left or right handed moldboard and coulter wheel, the plow has a double wing cutting blade without a coulter. This is a simple, rugged plow that is less than half the price of a decent one bottom; it’s an absolute bargain. It can also be used to harvest root crops like potatoes. You run it right down the row of plants and it flips the potatoes out of the soil. I’ve never done it, but… I’ve watched videos and I’m going to try it at the end of the summer… very slowly and carefully!
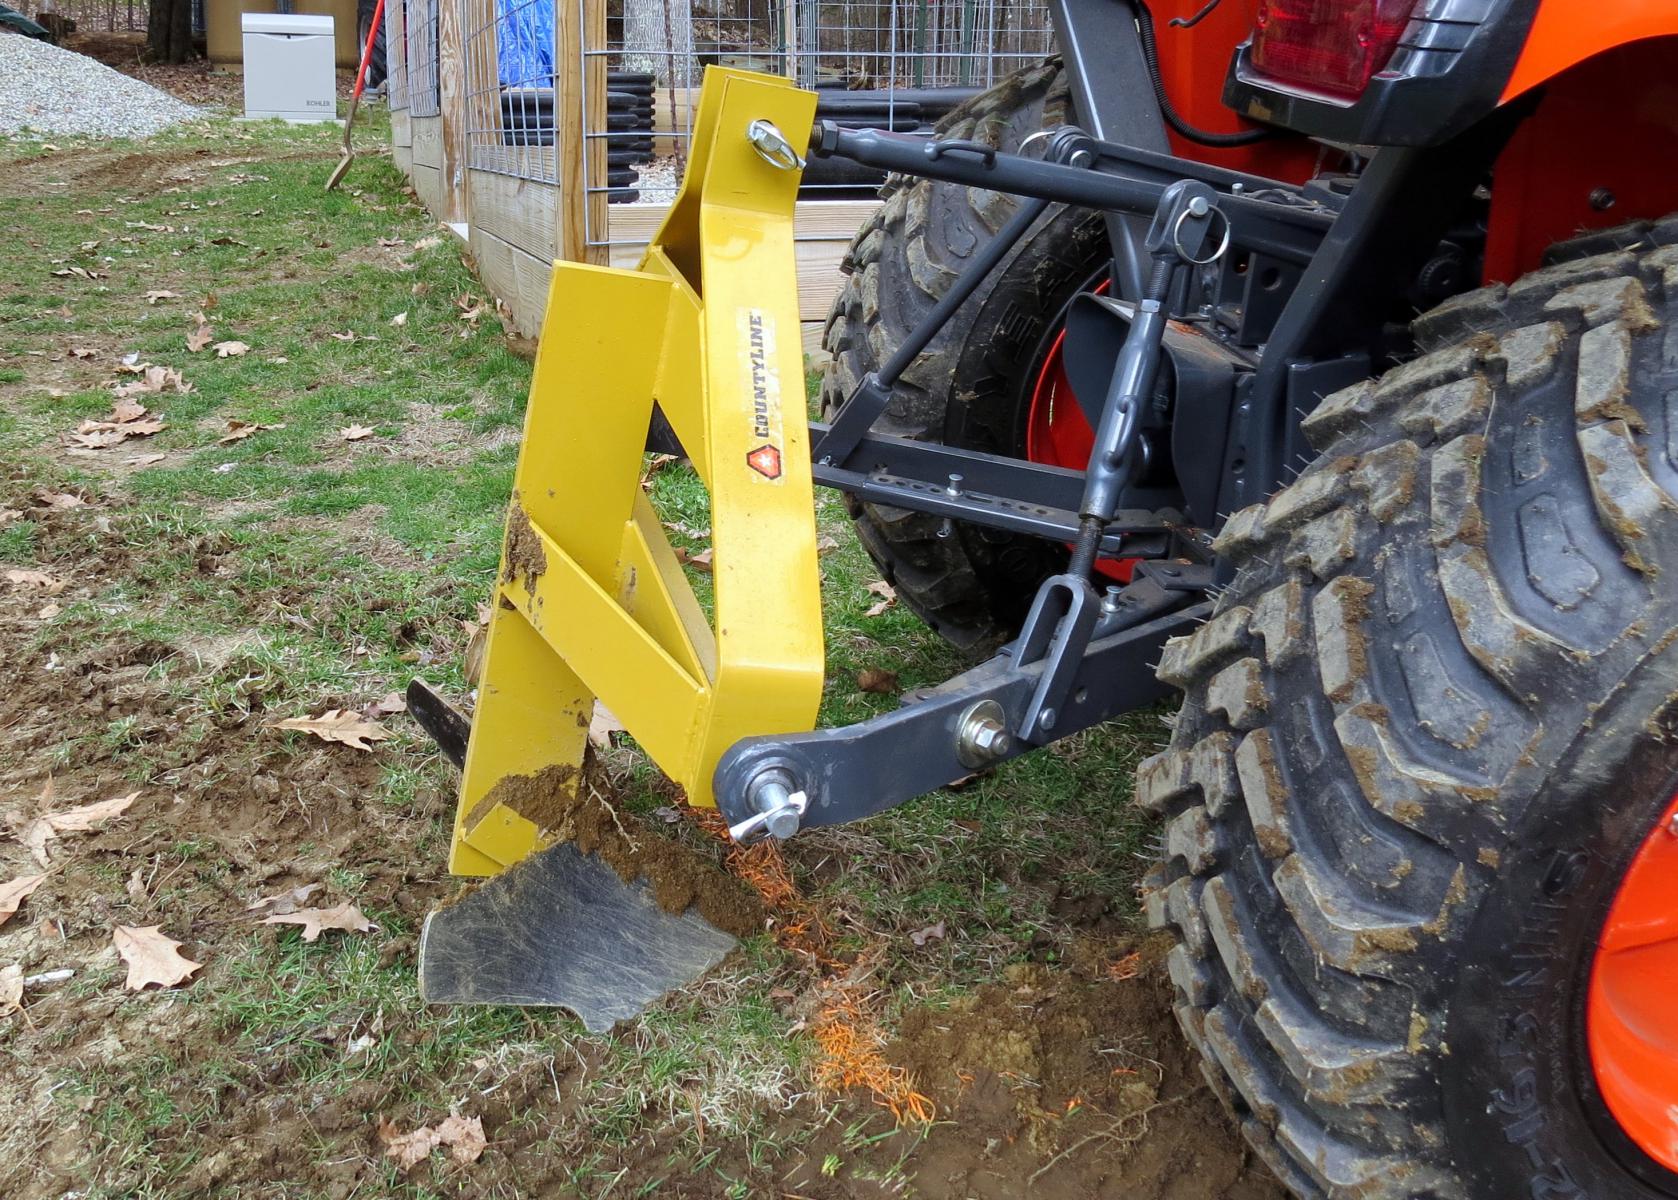
This year we vowed to get the potatoes in early and give them more time to grow. We started breaking ground in the first week of April; hoping to plant no later than the end of the month. Layoff plows are set pretty much vertically on the three point hitch (3pth). Traditional plows are offset left to right to compensate for your rear wheel sitting deeper in the previously plowed furrow. In other words the tractor is tilted but you set the plow perpendicular to the ground. I did this years ago with a two bottom on an old Farmall. The real question is what about the angle on the other axis… front to back? The plow manufacturers recommend vertical on this axis as well. But, since there is no down pressure on a 3pth, shortening the top link makes the plow dig more aggressively. You can do the same thing with York rakes and scraper blades. Rightly or wrongly, that is what I did. If you look at the picture above, you can see how I set the forward lean on the plow. The plow dug right in and turned a lot of sod… I was OK with that. I actually ran the hitch a little bit up on the first pass and let it go down the whole way on subsequent passes.
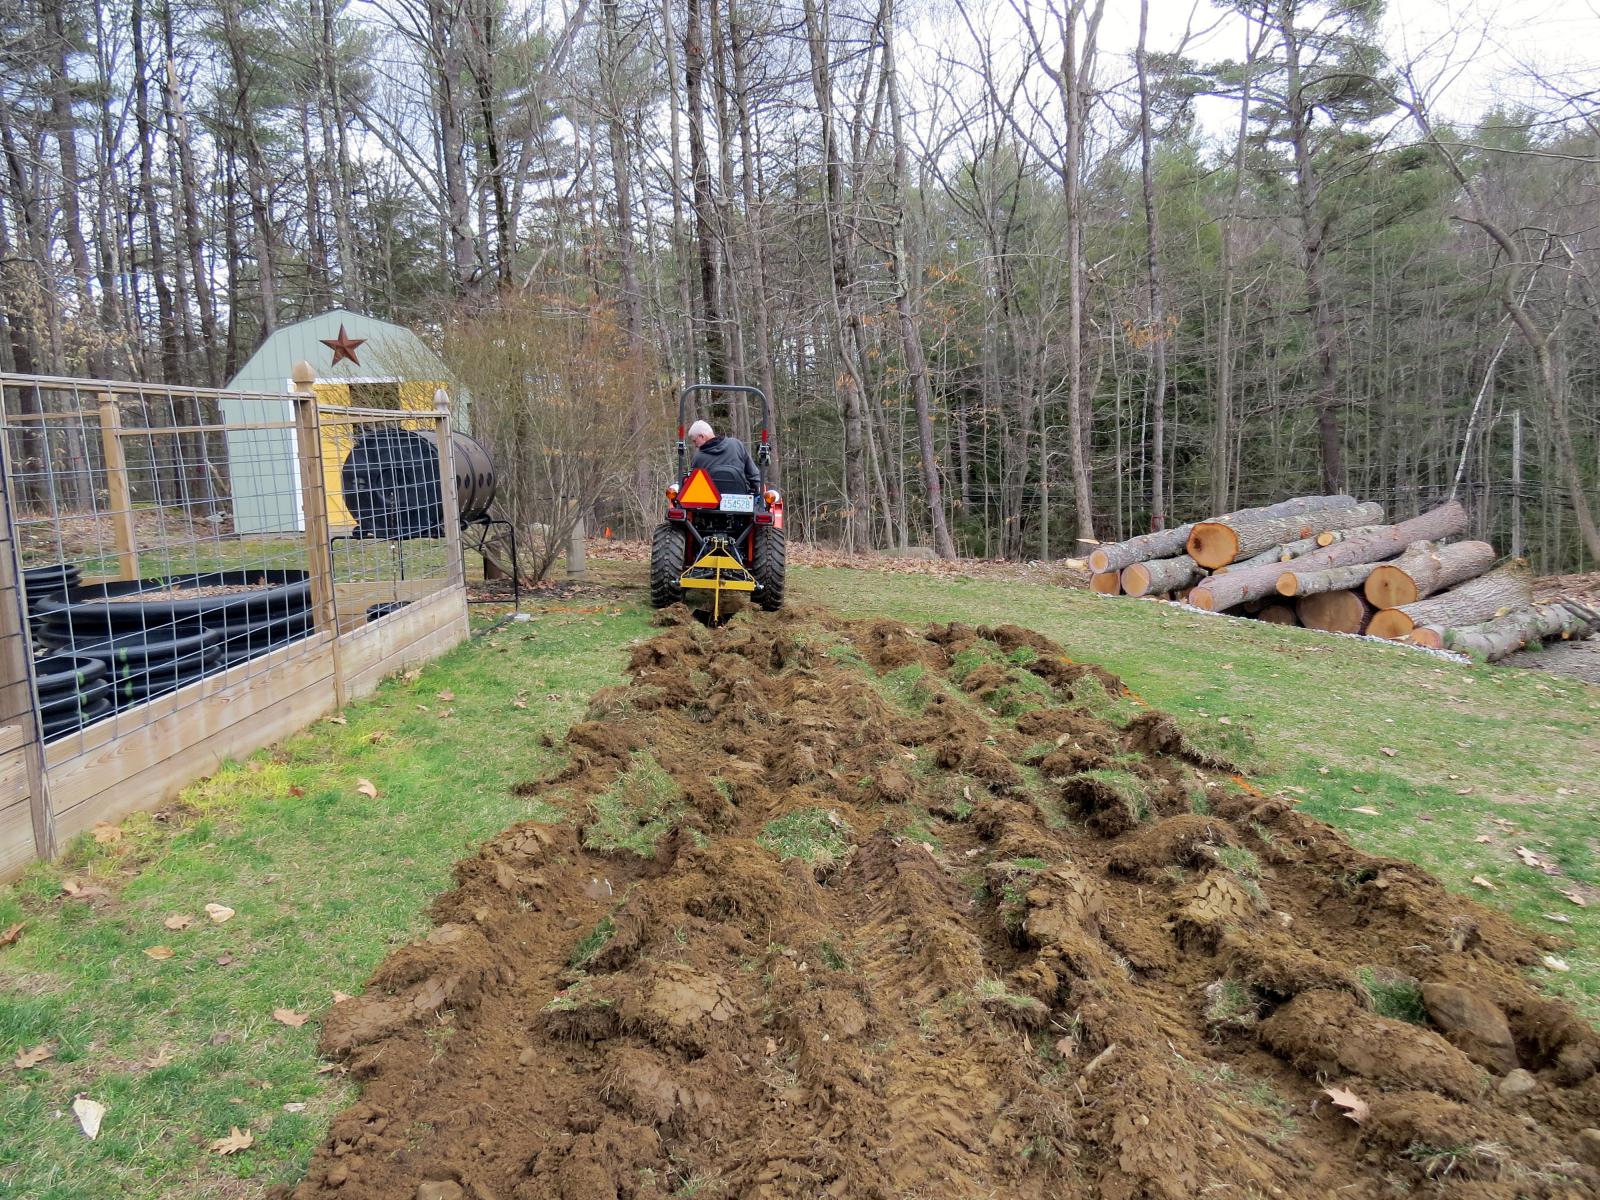
I used the little Kubota, the 26hp B series, to plow with. I was confident that it could do the job and being two feet narrower than the big tractor it could get closer to the fence and turn around on the headlands easier. Our little farm is tight and maneuvering the tractors and other equipment is often an issue. If some of this terminology is a little unfamiliar let me add this. The area being plowed is referred to as the “land”. The space needed to turn your equipment around on the ends, is the “headland”. It’s pretty much impossible to plow, disc, rototill, etc. right up to the edge of a given space. It is what it is.
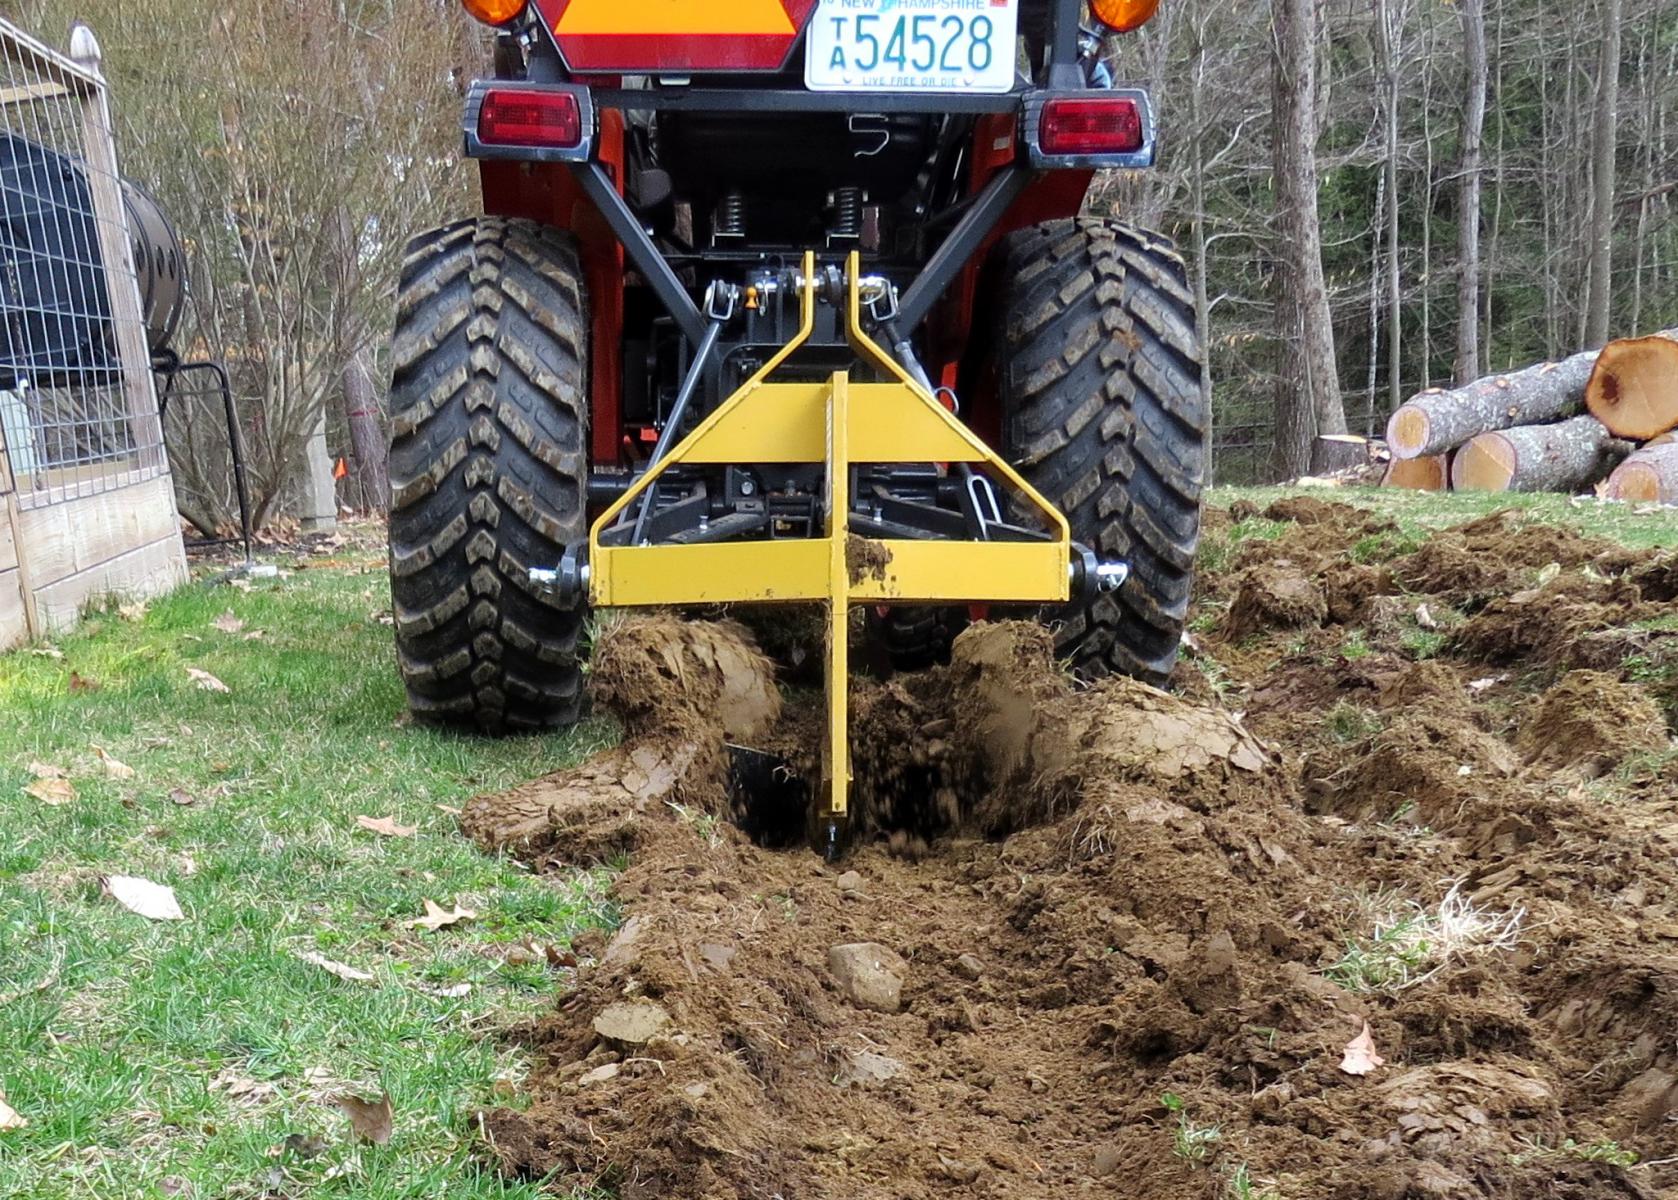
Pulling the Middle Buster with the Little Kubota
A few weeks of not always good weather and life getting in the way slid by and on the last week of April I finally rototilled the plot. I had spent quite a bit of time pulling the big rocks out and carting them off to my stone dump with the big Kubota (in the picture below). And when I say big I mean it… some were 18” or better in diameter and weighed a couple hundred pounds. Welcome to the Granite State! The land was plowed in furrows with lots of clumps of sod still present. This was a mistake. Rototillers don’t like furrows. They work much better on flatter ground. The first couple of passes were like riding a mechanical bull. The rototiller was all over the place going left and right and sometimes got hung up on the ridges and didn’t want to go anywhere with its wheels spinning uselessly in the air. It wasn’t fun. The next time I do this I will York rake the ground flat after plowing, before rototilling. It did get better after a few passes and came out OK in the end.
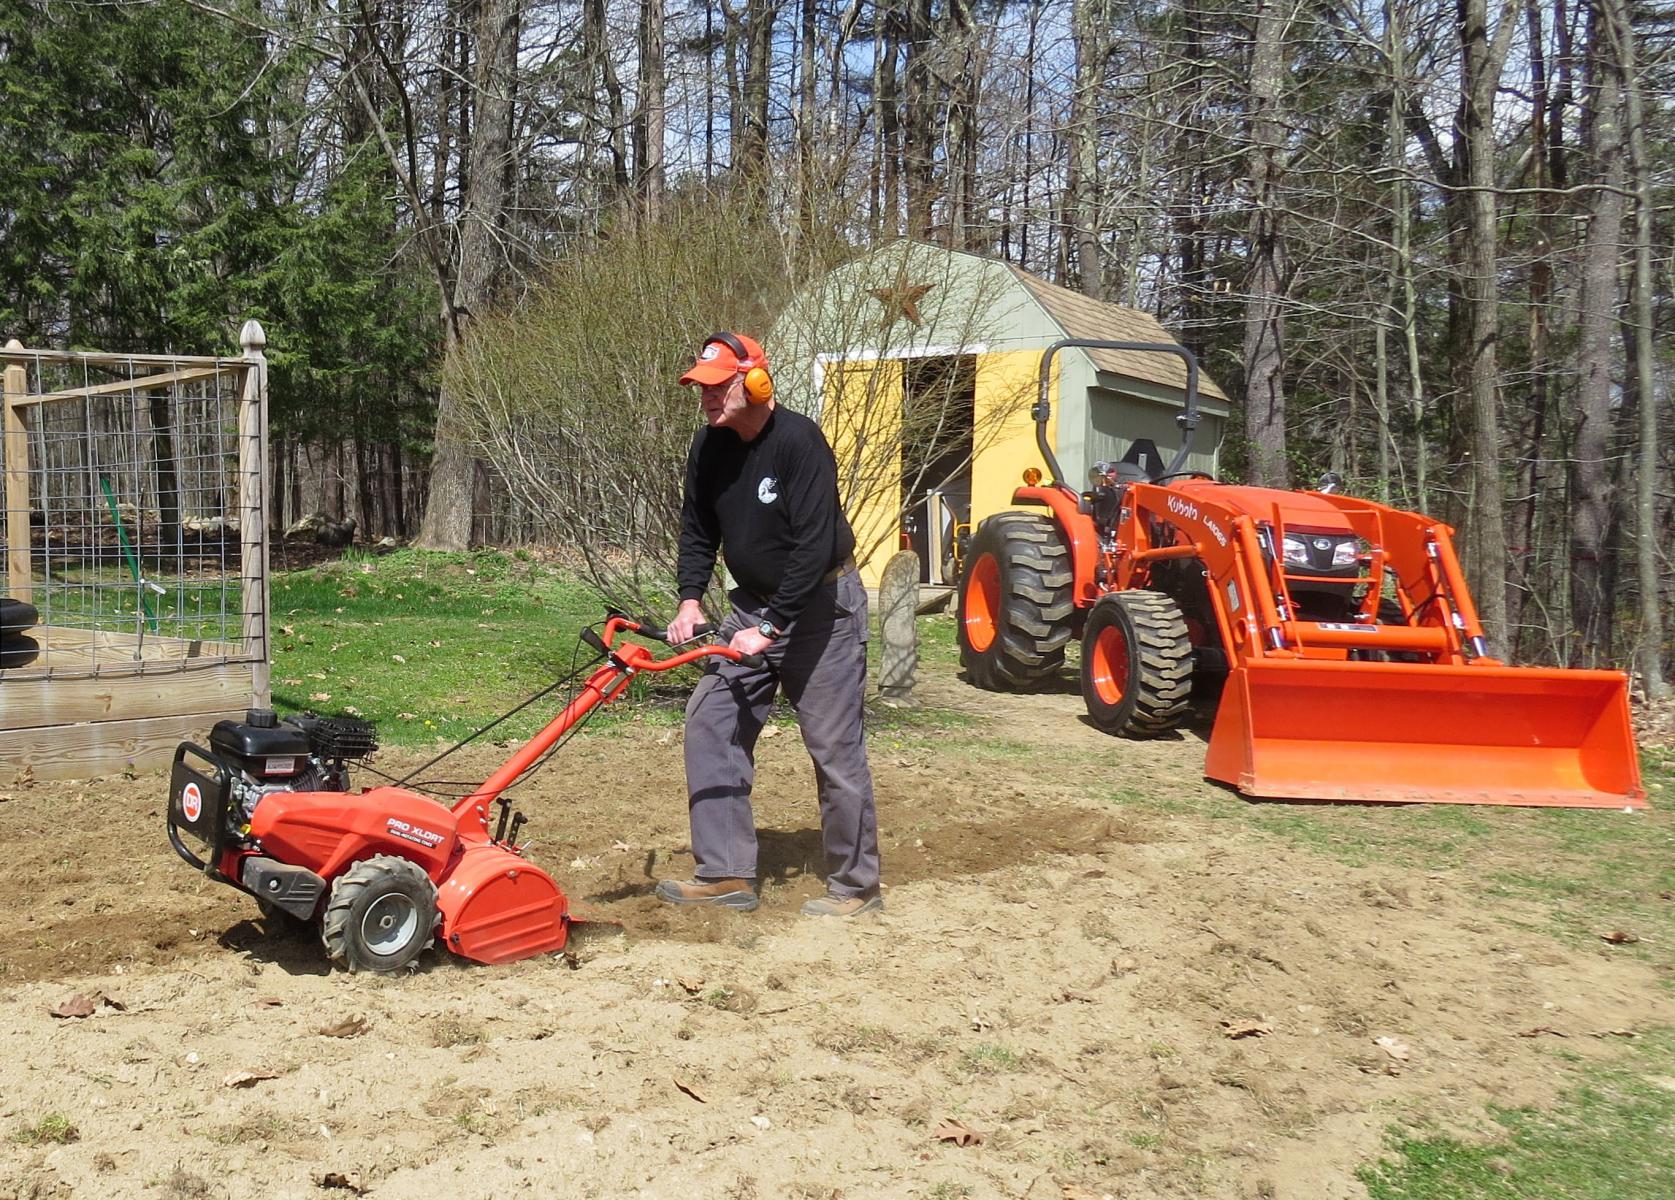
Rototilling
The next step was another fairly intensive rock picking party. Kristine and I picked many smaller rocks out and put them in five gallon pails, dumped them in the Kubota bucket and carted them off to the stone dump. I share these details so you will understand that converting sod to garden space has many steps and quite labor intensive.
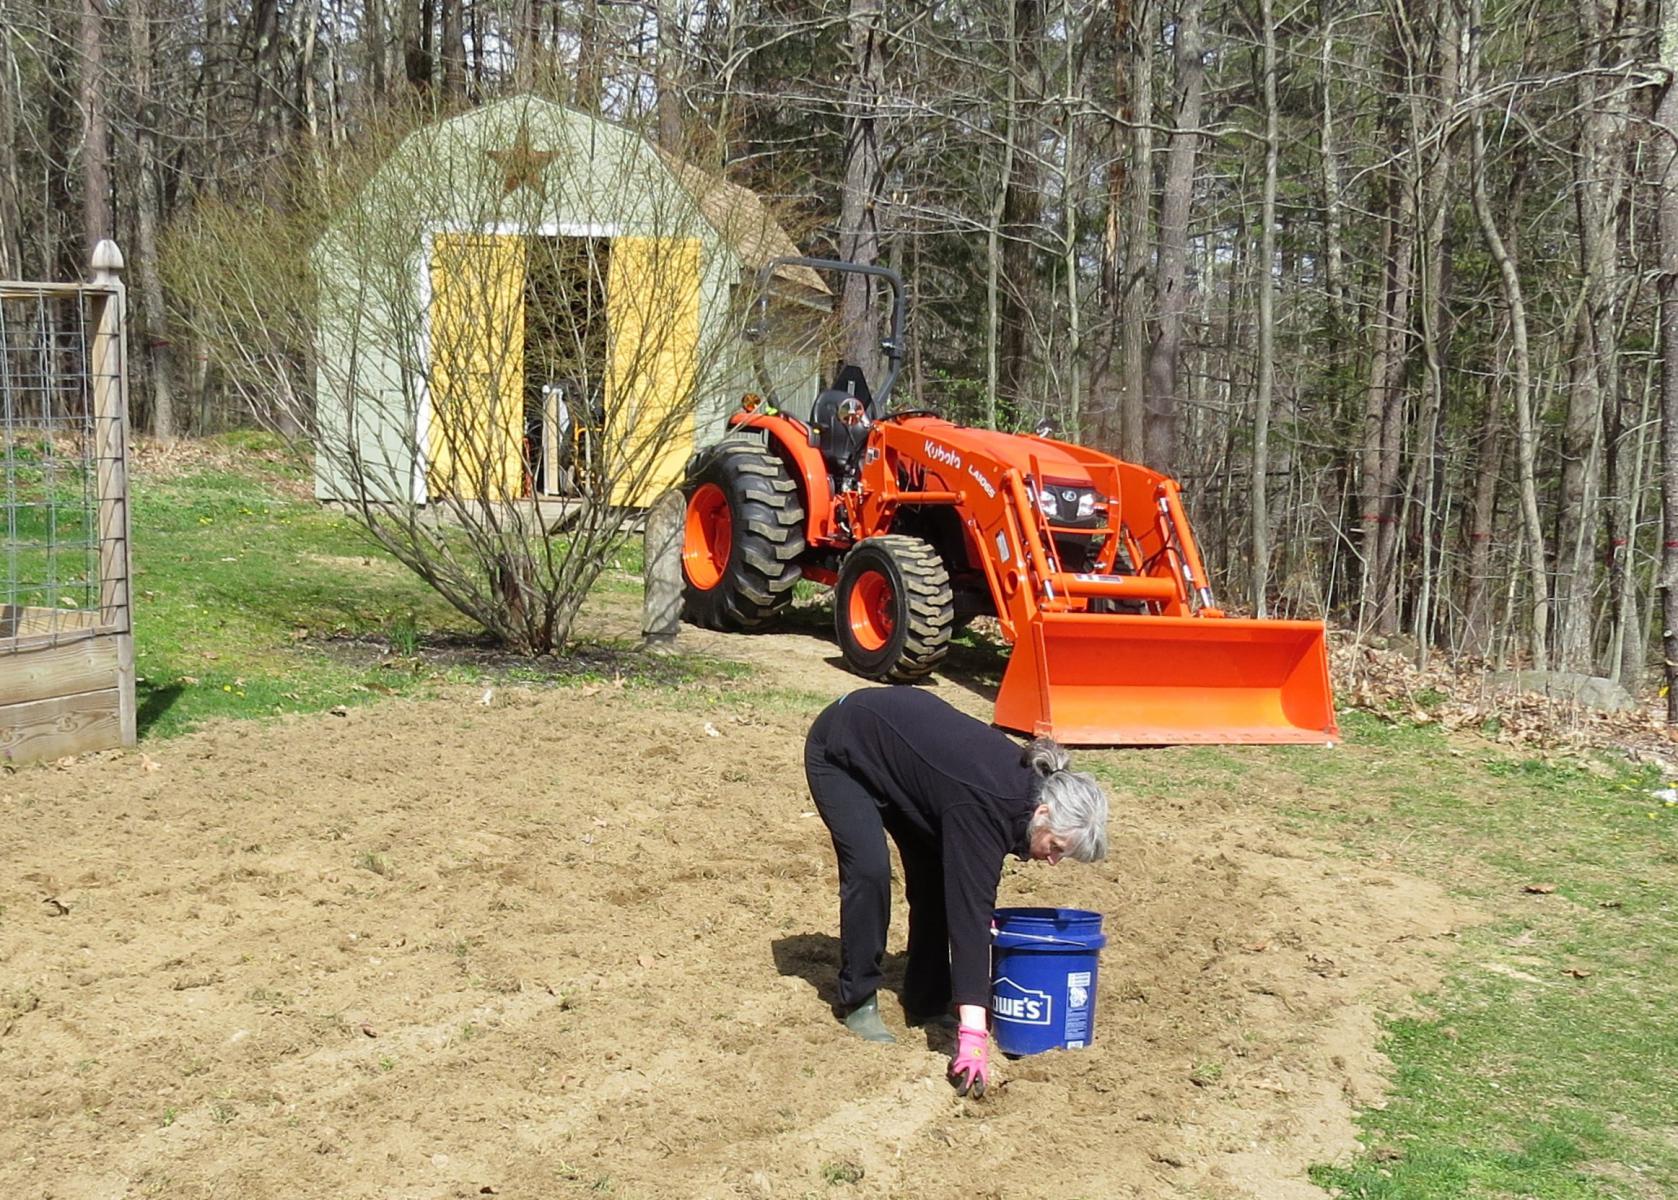
Hand Picking the Smaller Rocks
Next we laid out the windrows and walkways. Hindsight being what it is, I might have done this a little differently too. If there is one certitude in farming; it is “doing is learning, error is the pathway to enlightenment”. I probably should have brought in a couple of yards of screened loam. By the time we removed all the rocks and big clumps of sod, we really didn’t have as much soil left to make the planting mounds or windrows as I would have liked. It came out fine, but I will likely add loam next year. I carefully measured out the walkways and windrows from the garden fence. I marked them with snow stakes and flags. We scraped down the walkways and hand raked the loose soil into mounds.
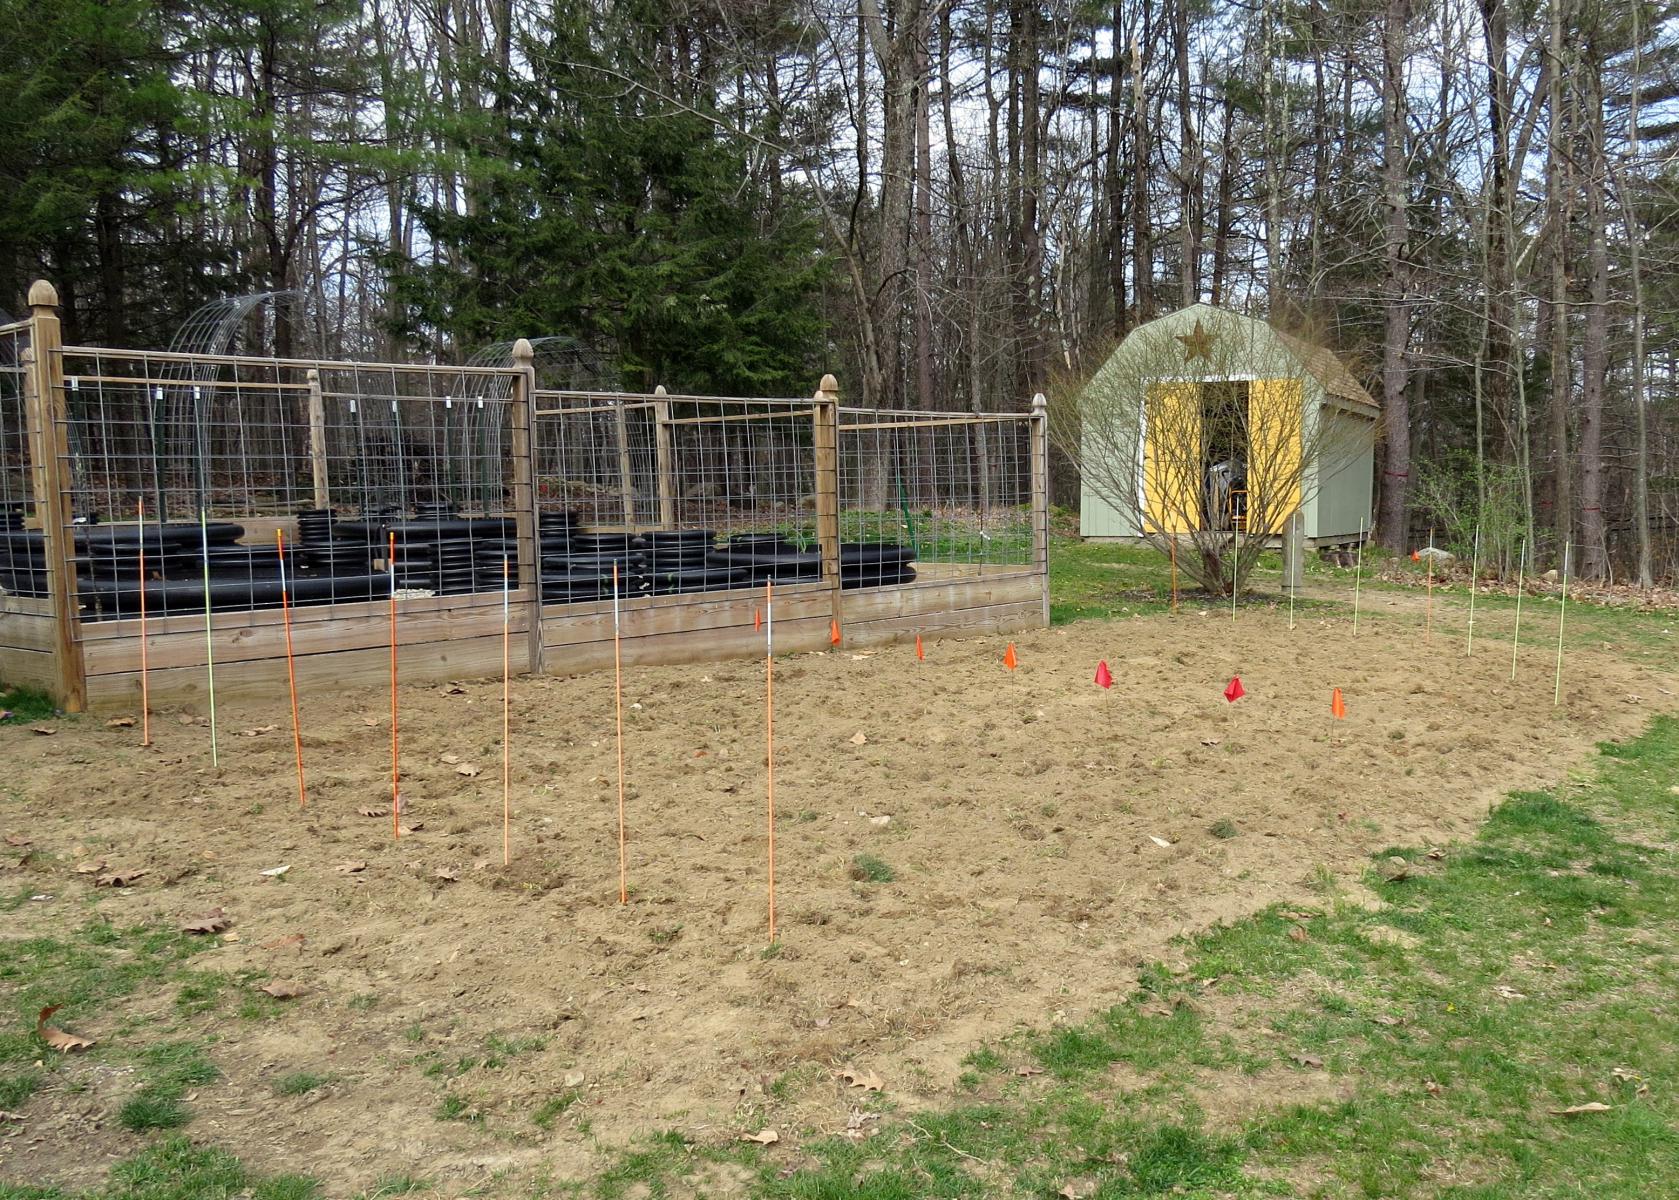
Laying Out the Windrows and Walkways
On April 30th, the last day of my self imposed timeline, we planted the potato seed eyes. Kristine did the planting, 6 inches deep and 1 foot apart. We had cut up the seed potatoes a couple weeks earlier into 1-2 inch chunks with at least two seed eyes on each. There are several varieties of potato in the mix. After the cutting we let them “harden” on a counter for a few days. Then we put them in cardboard boxes for a week or two. The bottom line is all the varieties are completely mixed up; we have no idea which plants are where. Not a problem really, we will find out at harvest time. We put in 75 seed eyes and 75 plants came up. It’s hard to say for sure, but even if we only average two pounds per plant (we could get quite a bit more) we should harvest at least 150 pounds of potatoes. That’s a good thing, I’ve never met a potato that I didn’t like and nor am I aware of a way to prepare potatoes that doesn’t taste good.
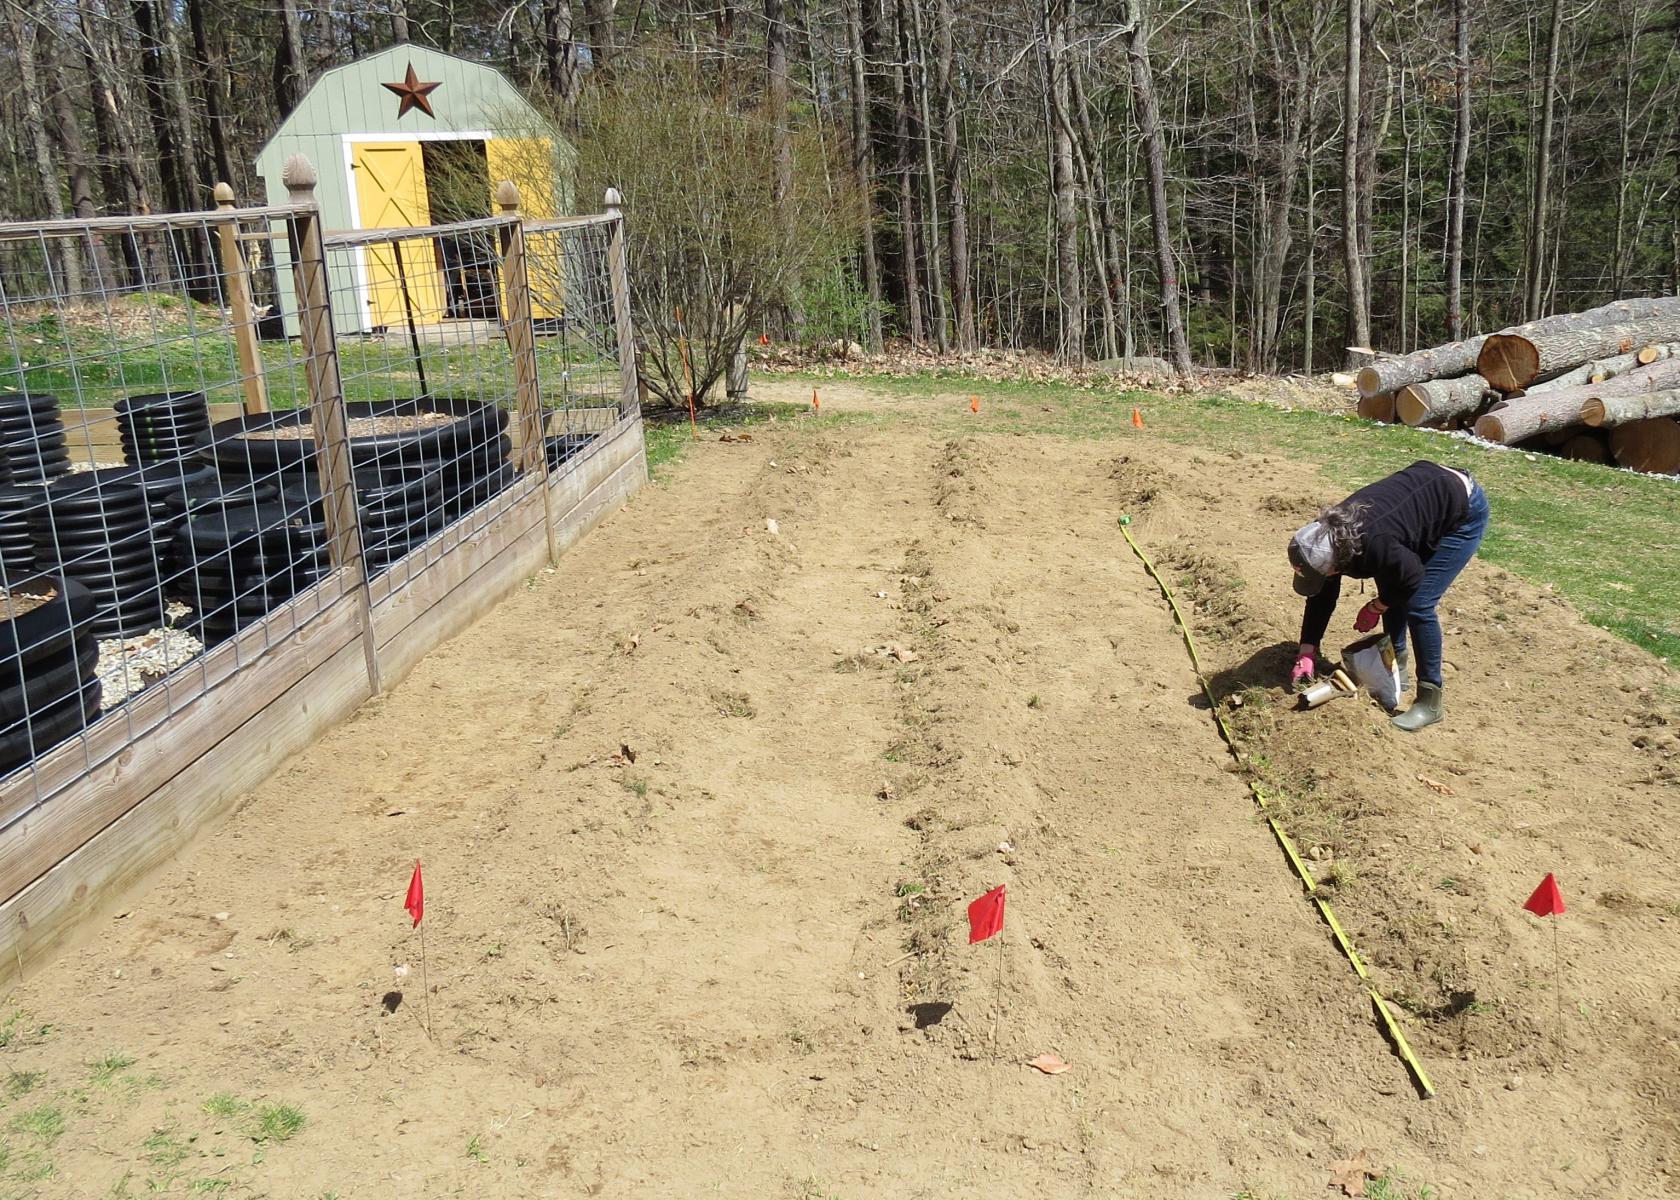
Planting the Seed Eyes
We let the plants grow for a month; many grew to six inches tall or better. On Memorial Day weekend we had a massive weed-a-thon. We weeded the windrows and the walkways. It was time to mulch. We covered the walkways with landscape paper and a couple of inches of Lowes bagged cheap mulch. This was for weed control and moisture retention.
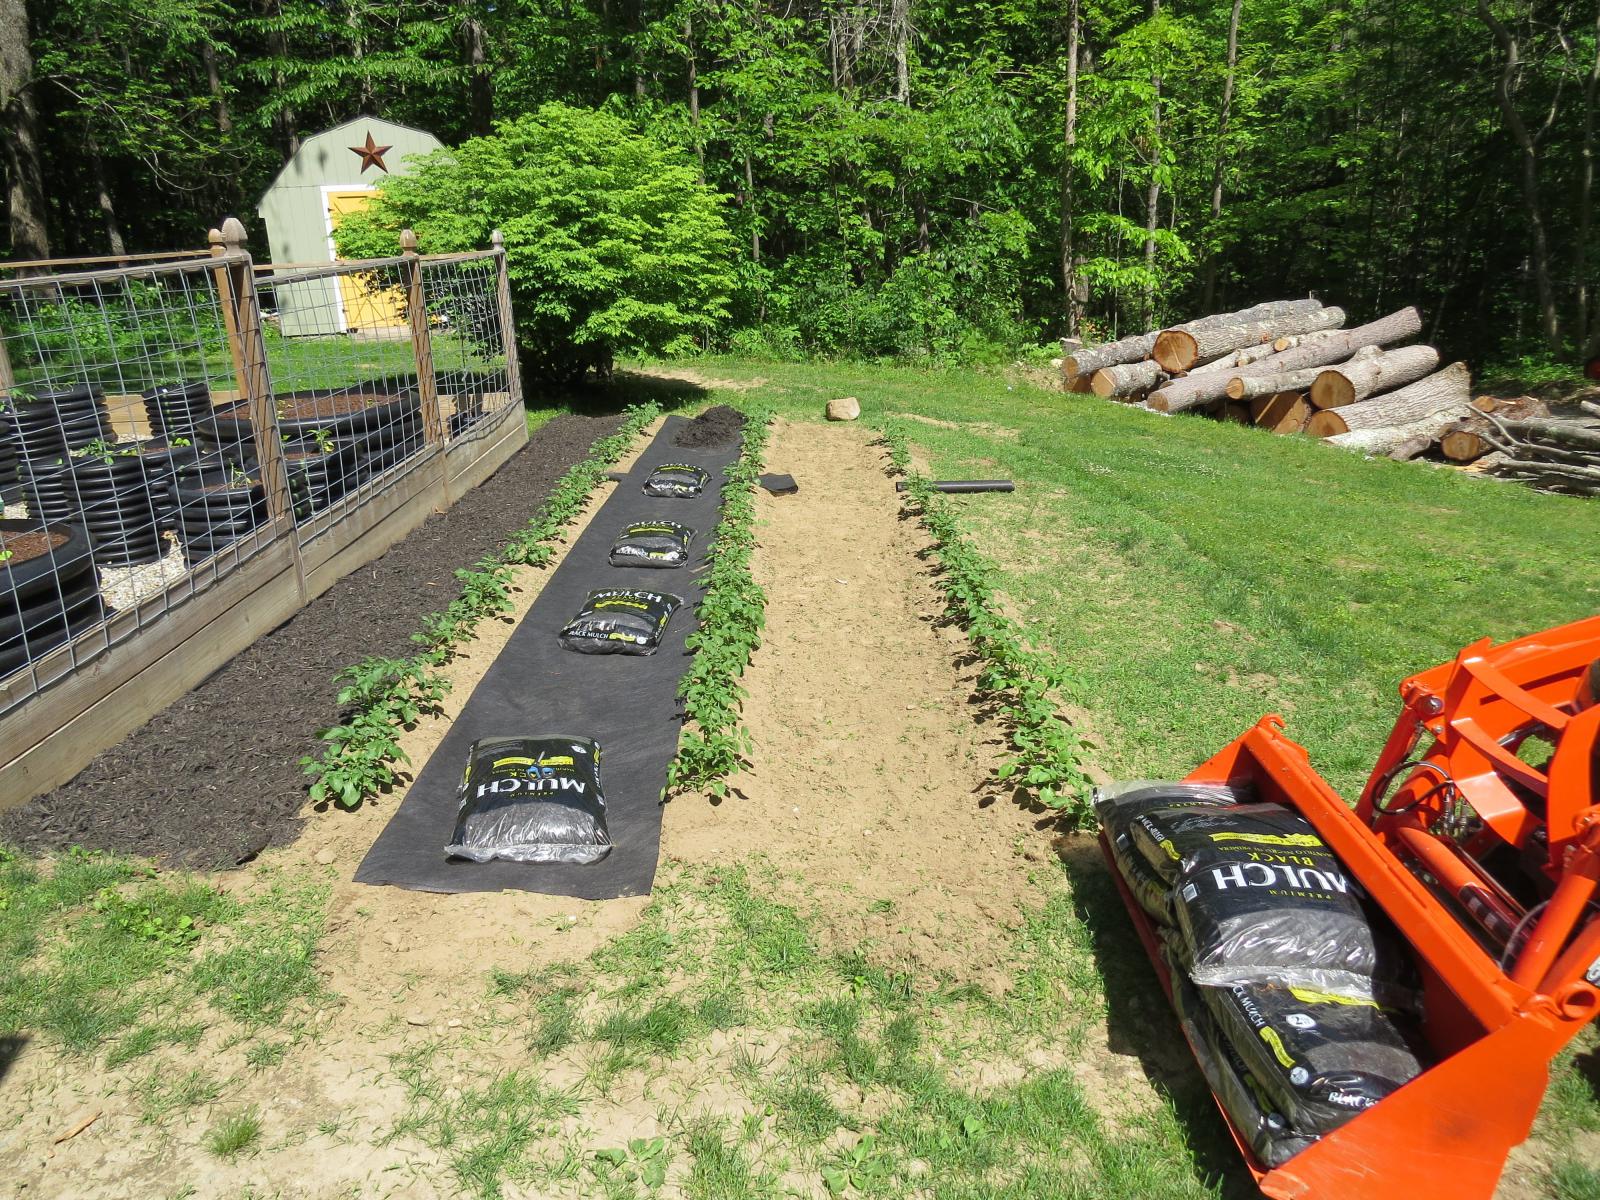
Landscape Paper and Mulch
The plants were mulched with mulch from Ideal Compost http://www.idealcompost.com/ Ideal is a small family run business in neighboring Peterborough. They make quality mulch that is plant nurturing and keeps the weeds down. It’s fairly expensive compared to Lowes and doesn’t make sense on the walkways; but works great on the plants. It is well worth the money. In the picture below, the darker mulch on the walkways is the cheap stuff from Lowes. The rich brown mulch is the good stuff from Ideal.
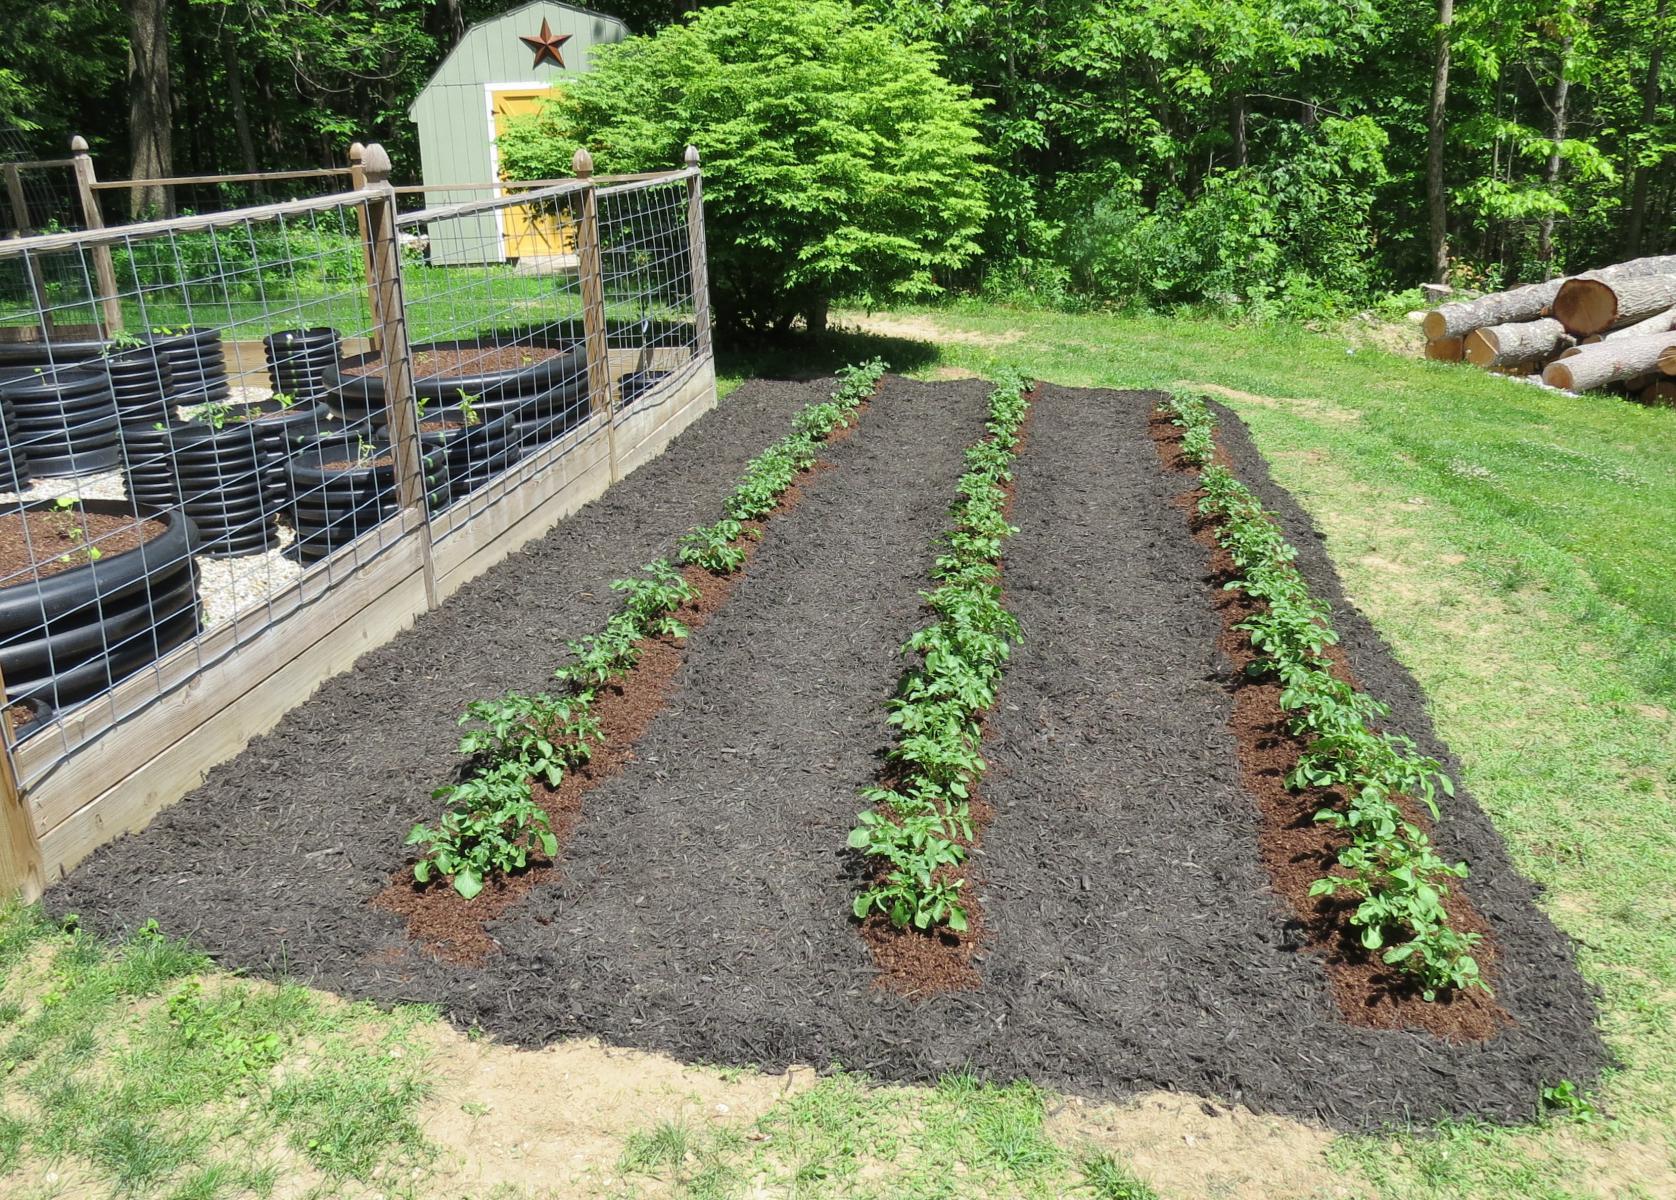
Mulched and Good to Grow
So now we wait. Obviously the potatoes are not behind the fence and vulnerable to pests like deer. All tubers are vulnerable to rodents like voles. If we see damage from deer; I will quickly put up electric fencing. My friend and world renowned master gardener Roger Swain recommends electric fence “baiting”. It’s simple enough, add little tabs of aluminum foil to your fence wire and smear them with peanut butter. This encourages investigation by deer and others and introduces them to the unpleasantness of the hot wire and resolves the problem. Roger further recommends creamy peanut butter not super crunch… yup, he really said that!

Recent Comments